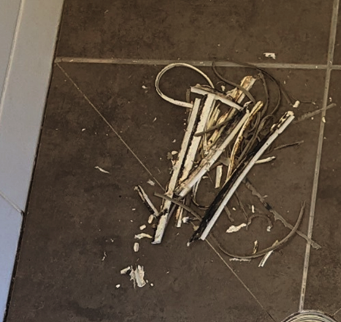
To Amanda, Erol, Yung, Josh and Chris.. thankyou for the excellent communication and a wonderful new shower. All aspects of the project were carried out to the highest standards and no shortcuts were taken. Very highly recommended 10/10.


STEP 1:
onsite Professional Diagnostic Inspection :
We conduct a thorough on-site inspection to assess the real cause of leaks, cracks, or damage.
You receive a Shower Defect & Compliance Report with photos, findings, and an expert Action plan.
This is not a sales visit — it’s a technical diagnosis to uncover the root problem (not just surface issues).
STEP 2:
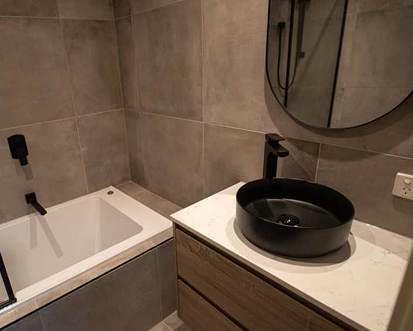
Fixed-Price Proposal
After the inspection, we prepare a Detailed fixed-price investment plan-
not a rough quote.
We Present and walk you through the plan either at our showroom or via a video consultation so you know exactly what’s included and why it’s needed, and the long-term benefits.
No hidden costs, no nasty surprise Variations halfway through the Project.


STEP 3:
Showroom Visit & Selections
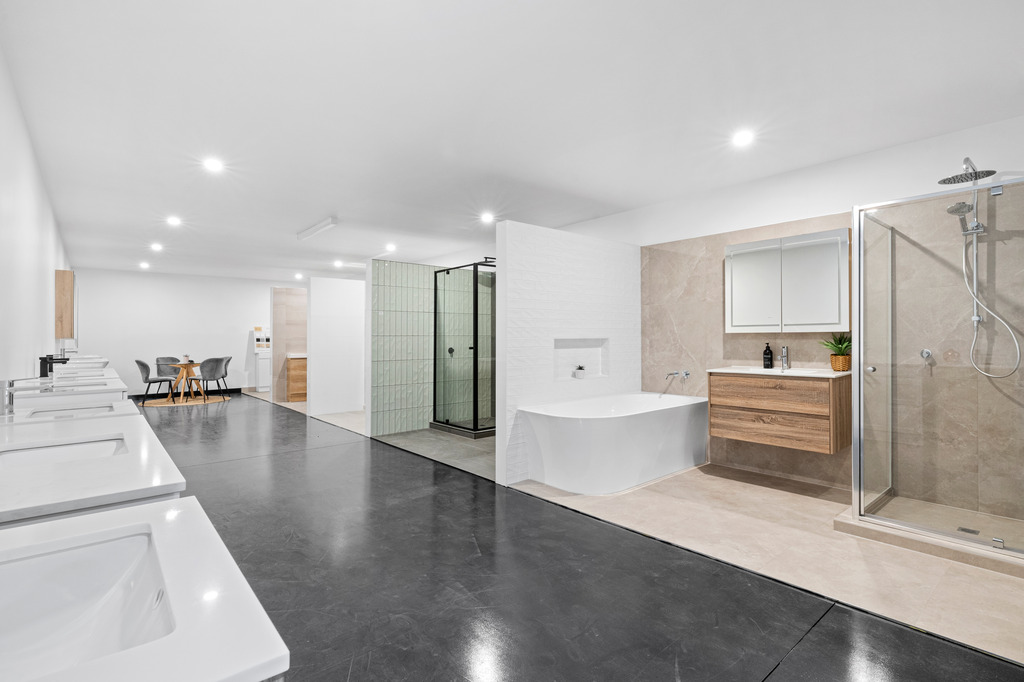
Once you accept Our proposal, you’ll be invited to our Pakenham showroom to finalise all your selections.
Here You can
View our shower displays to see the quality and finishes in person.
Choose from our tapware, shower heads, screens, and upgrade options using our curated catalogues.
Ask our team for expert advice on designs, fixtures, and custom upgrades

STEP 4:
Project Scheduling & Pre-Start Planning
We lock in your project start date and confirm timelines.
You’ll receive a Pre-Start Guide explaining what to expect.
Our team ensures all fixtures, fittings, and materials are ready before we start.

STEP 5:
Behind the Scenes -Project Preparation
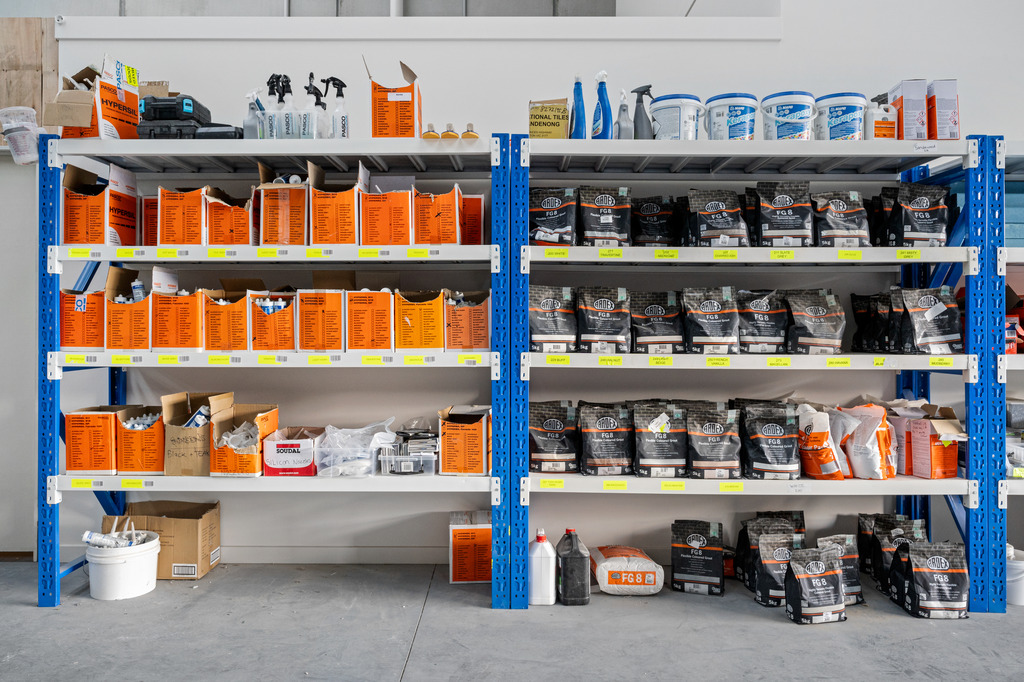
We stock all materials and fixtures in our warehouse.
As soon as your selections are confirmed, we order your tiles and prepare a job pack with your job number labelled on each item.
A team meeting is held to review your job, go over the plan, and brief every team member on the technical details and client expectations.
Quality control checks ensure all materials and equipment are ready for Day 1

STEP 6:
Day 1 — Arrival & Pre-Start Walkthrough
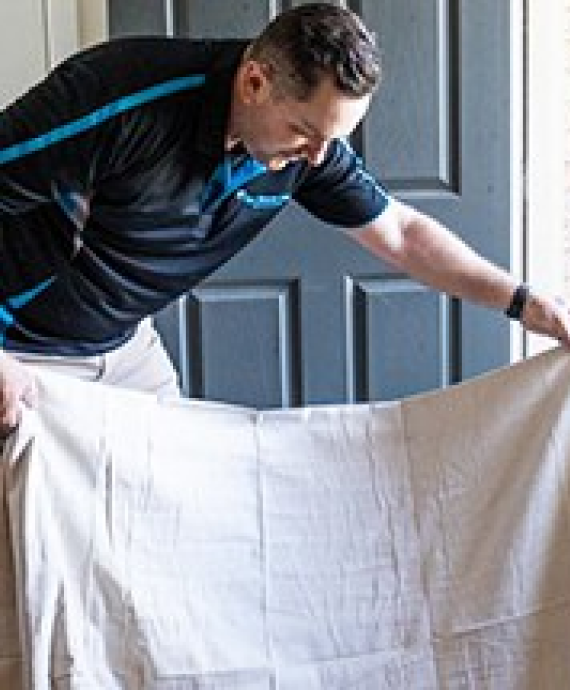
We arrive on time and introduce the team .
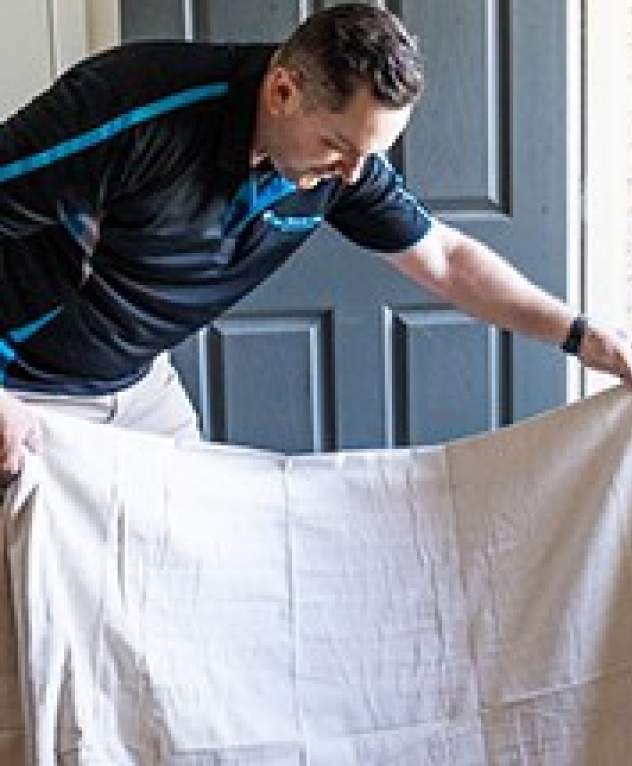
A Pre-Start Condition Report is completed, documenting all nearby areas with photos.
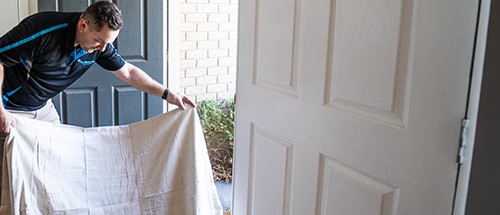
We discuss access, answer questions, walk you Through the plan and protect all areas before starting work.


.jpg)
STEP 7:
Site Protection & Demolition
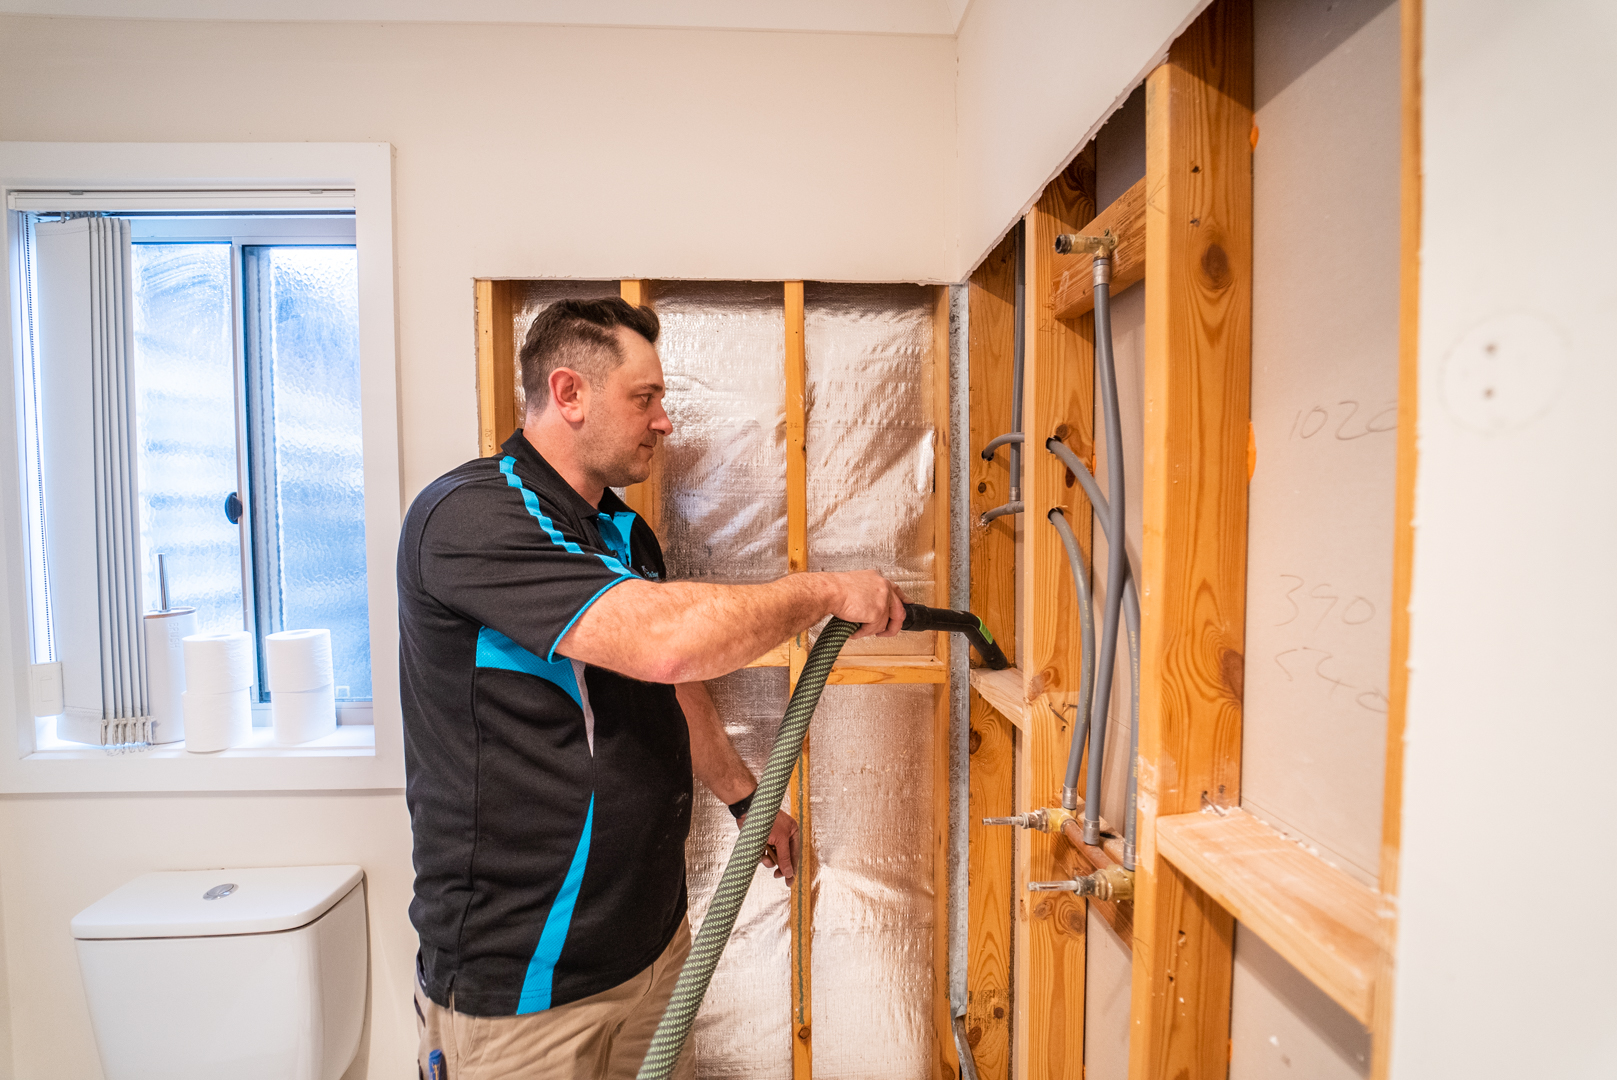
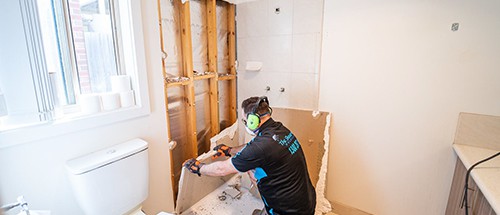
We carefully protect all surfaces and remove the shower screen, tapware, fittings, all existing tiles and wall linings, any water damaged or compromised substrates and shower base.
The area is stripped back to wall framing and subfloor using precision tools connected to a dust extraction system to minimise dust and protect surrounding areas. All job waste is removed immediately from the home and disposed of responsibly.
We inspect for any hidden water damage or structural issues and rectify.
STEP 8:
Repairs, Substrate Preparation
Damaged timber framing, subflooring and structural elements are repaired or replaced as needed.
If a recessed niche is inlcuded in your package, this is constructed at this stage.
it’s critical to finalise these selections before work commences — they can’t be added or changed after the wall. linings and waterproofing are installed.


.png)
STEP 9:
plumbing rough in
If your package includes upgraded tapware, mixer taps or a new shower head, or if you are relocating these items, these are installed at this stage.
Because part of these fittings sits inside the wall cavity, it’s critical to finalise these selections prior to the project commencing — they can’t be added or changed after wall linings or waterproofing are installed.
A new trap and puddle flange are installed recessed into the shower base substrate.



STEP 10:
Substrate installation
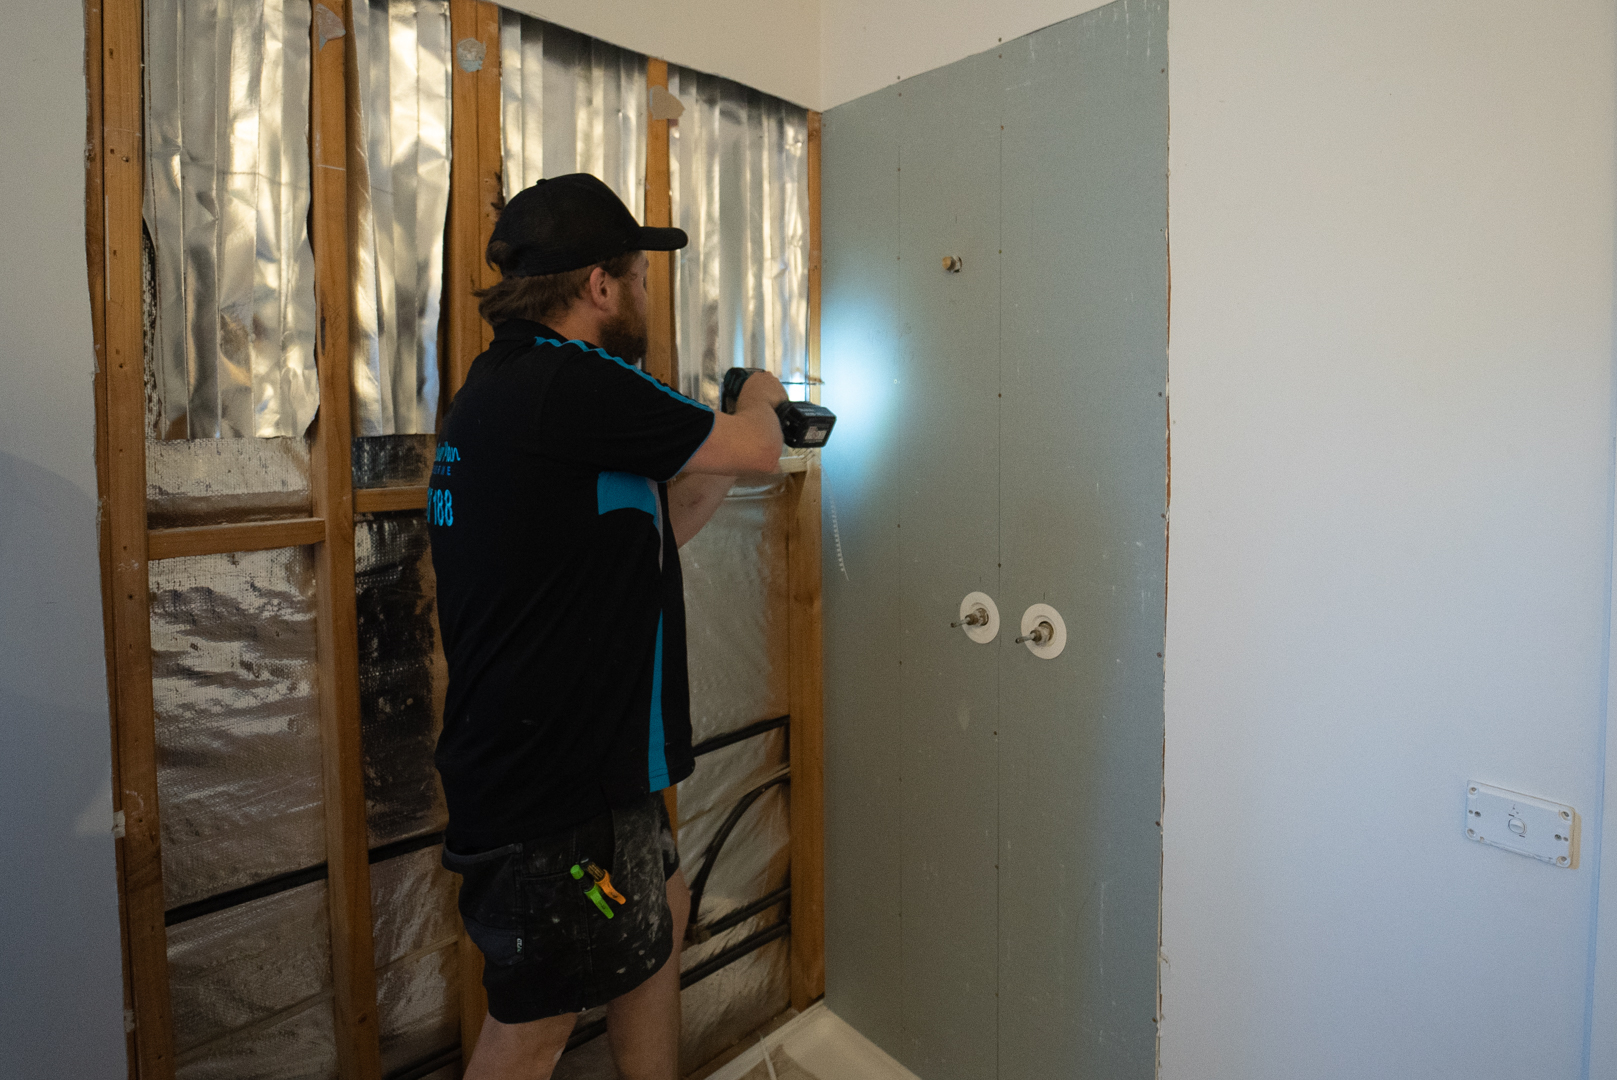
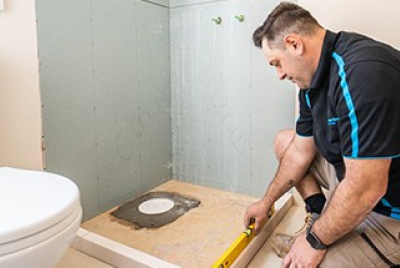
We prepare the shower area by installing wet area wall linings to all shower walls, ensuring they are plumb, secure, and compliant with AS3740 standards.
Where required, underlay is installed to the shower base area to provide a solid and stable foundation for the waterproofing, screed and tiling to follow.
This stage is crucial, as it creates the structural substrate that supports the entire waterproofing and tiling system, ensuring a long-lasting, durable finish.
Any adjustments needed for falls, wall straightness, or framing irregularities are completed at this step before moving on to the next stage.
STEP 11:
hob installation
Our shower hobs are custom-fabricated to fit your preferred footprint for your shower base.
The hob is a critical component of our shower system – it helps create a waterproof container within your shower and contains the screed bed, which allows us to achieve the correct fall to the shower waste (drain).
Our hob also prevents water from escaping the shower base in the event of grout or silicone failure. If any water penetrates through the grout or silicone, it is trapped on top of the waterproofing within the shower base and is directed safely to the puddle flange drainage system.
Our hobs are 50mm wide and 75mm high, plus the thickness of your selected tile.


STEP 12:
Waterproofing Installation
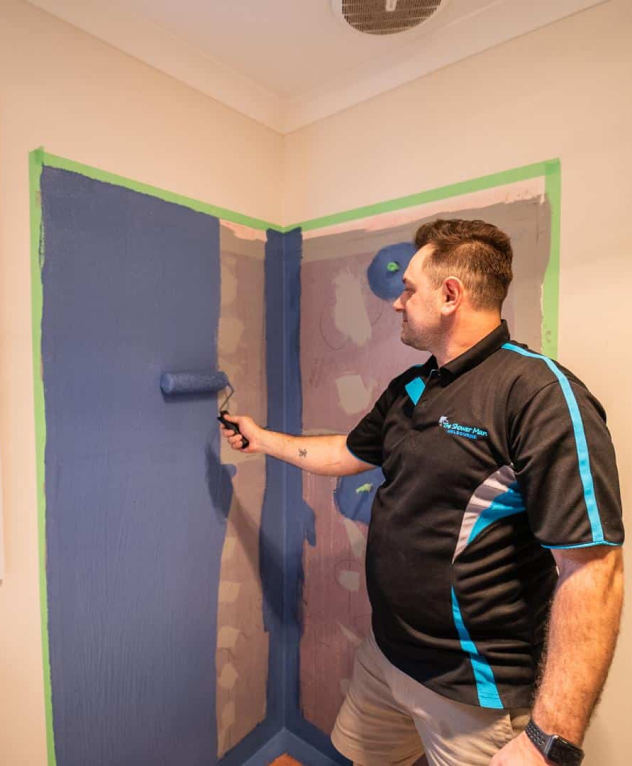
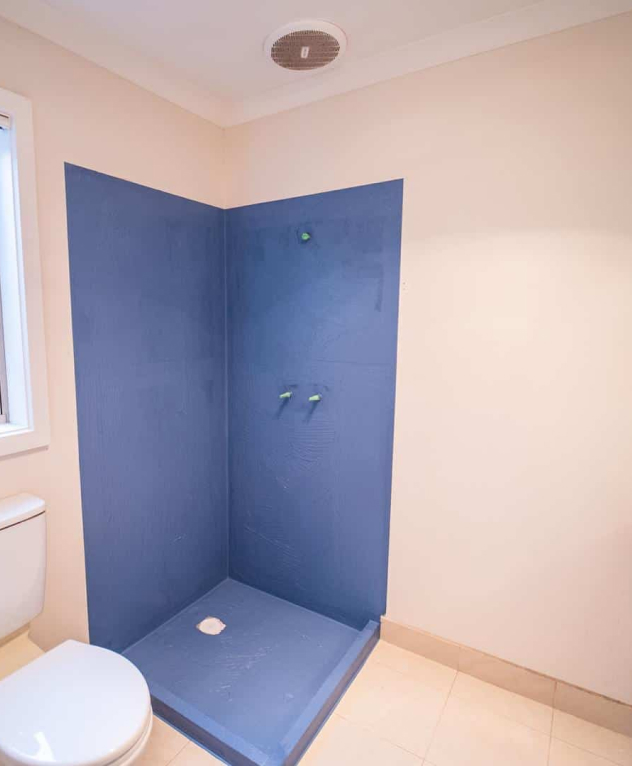
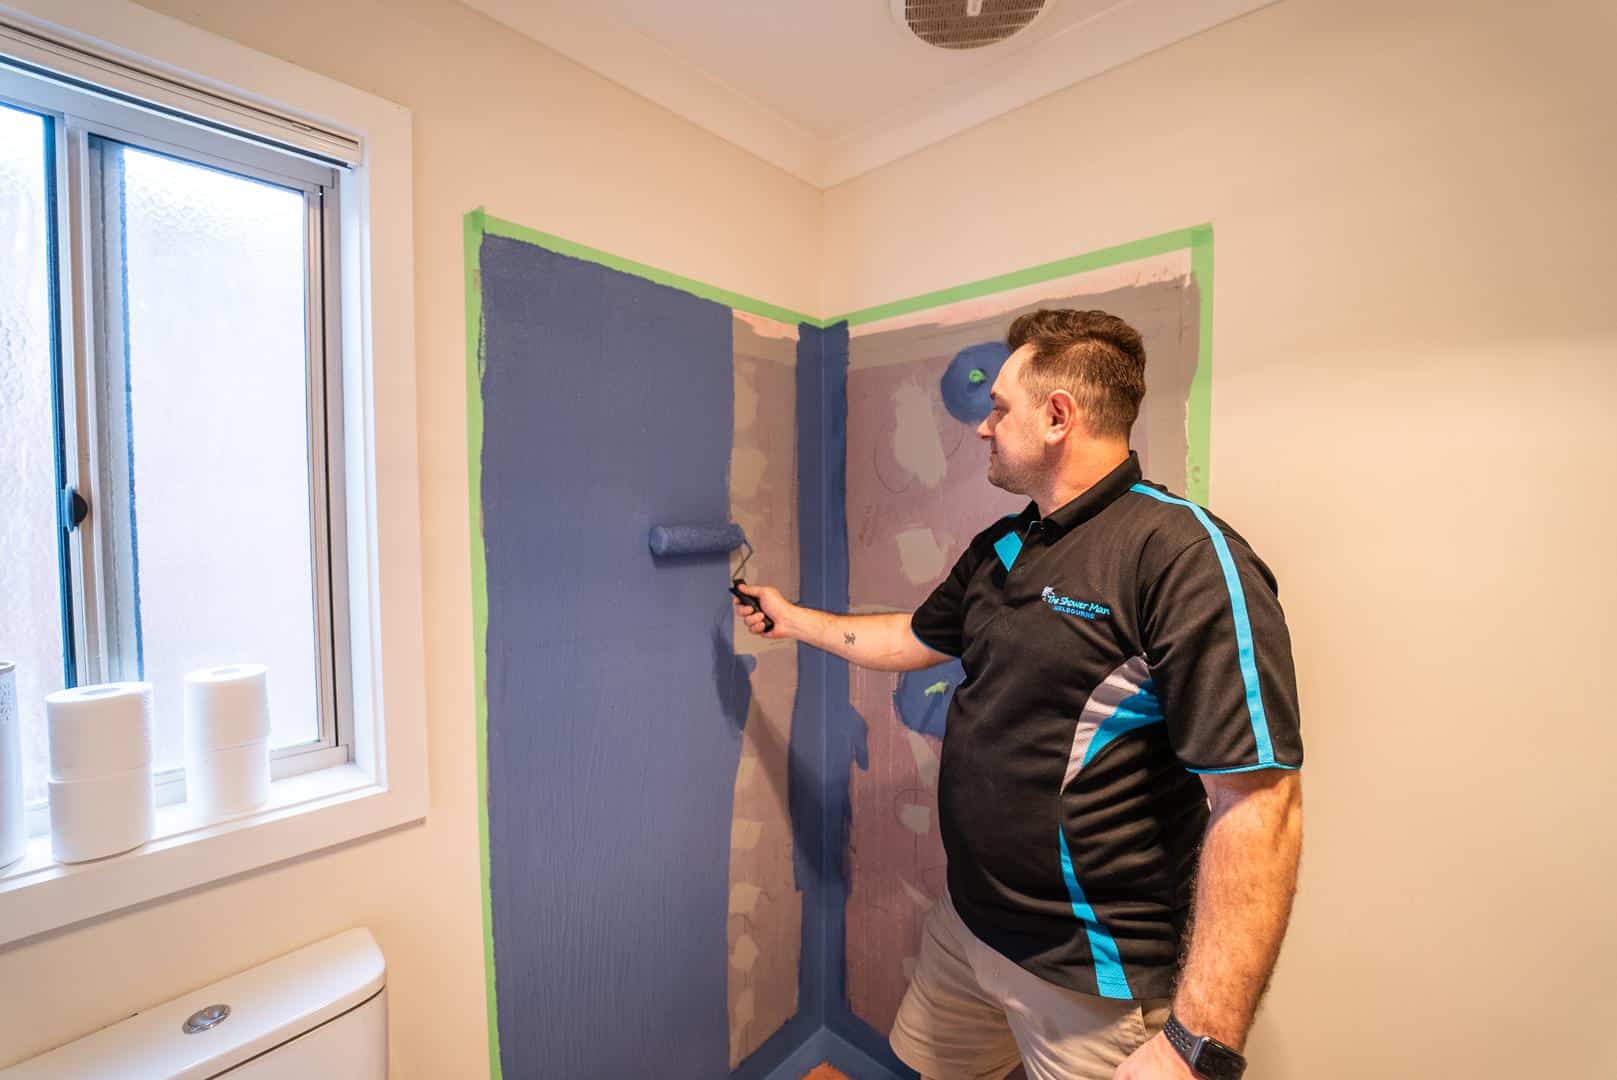
A premium AS-3740 compliant waterproofing system is meticulously applied to the shower recess walls, carried down to the shower base, and fully encapsulating the hob.
It terminates vertically inside the puddle flange for a seamless watertight seal.
All waterproofing is documented and certified to meet NCC and Australian Standards.
STEP 13:
Shower Base Screeding
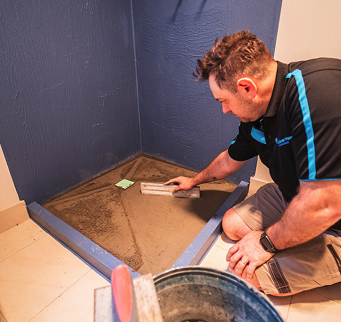
We mix each screed outside the home in a wheelbarrow, keeping the client’s driveway, paths, and lawn completely free of mess or residue.
Every screed is a perfect blend of high-quality sand and cement with additives, mixed to the ideal ratio for strength and durability.
It is carefully installed and shaped to each shower base, ensuring perfect consistency, level, and fall towards the drain — a critical step for both function and longevity.

STEP 14:
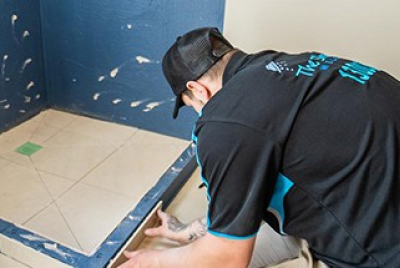
Shower Base & Hob Tiling
We begin with the shower base and hob, ensuring perfect alignment, consistent spacing, and correct falls to the waste outlet.
The waste and grate are never placed too close to any wall, as proper falls from every wall must be achieved, and waterproofing must extend fully beneath the grate.
Tiles are split and angled to direct water to the drain.
These splits are cut with precision, sanded smooth, and kept at a minimum of 1.5mm wide so grout adheres securely and prevents water ingress.
For exposed tile edges, we use colour-matched trims for a seamless, premium finish.


STEP 15:
Shower recess Wall Tiling
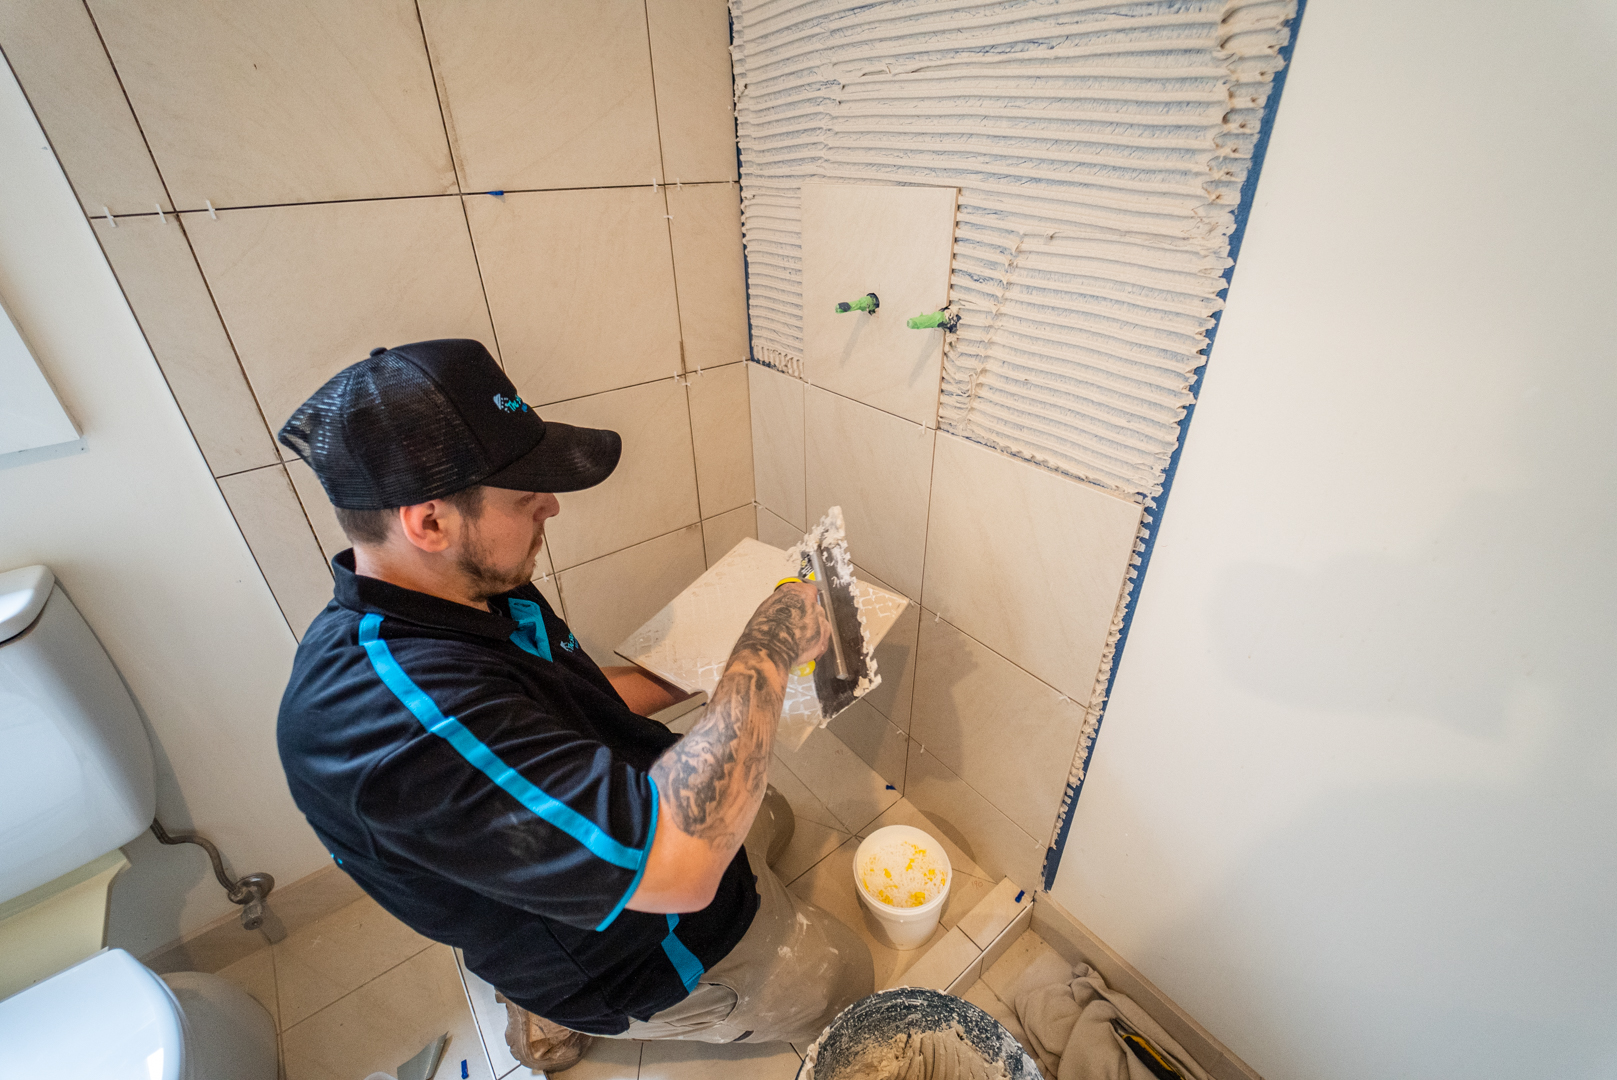
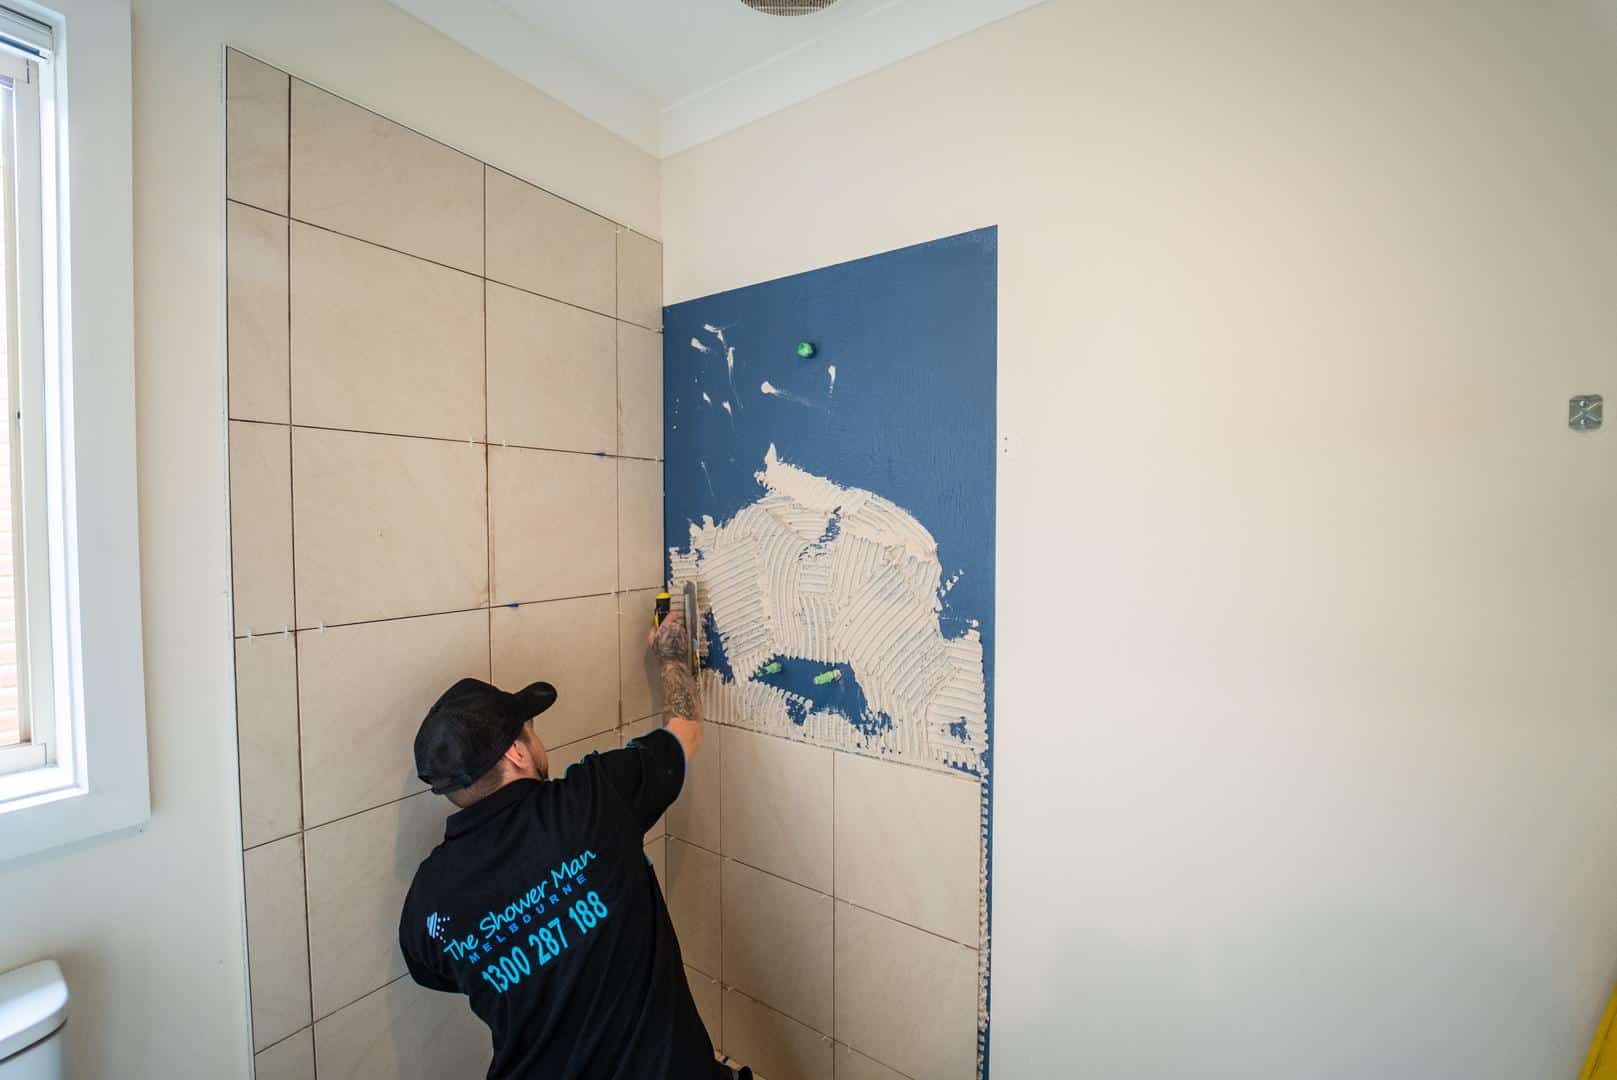
Once the shower base and hob are fully tiled and set, we return on the following visit to complete the wall tiling.
This staged approach is essential for compliance and longevity: the base must always be tiled first, so the wall tiles finish on top of the base tiles-
preventing cavities where water could become trapped if grout or silicone fails.
Some builders cut corners by tiling the walls and base in a single visit, but this is non-compliant and risks failure, as the weight of wall tiles can shift uncured base tiles.
We allow the adhesive to fully cure before starting walls, ensuring a solid, watertight finish.


STEP 16:
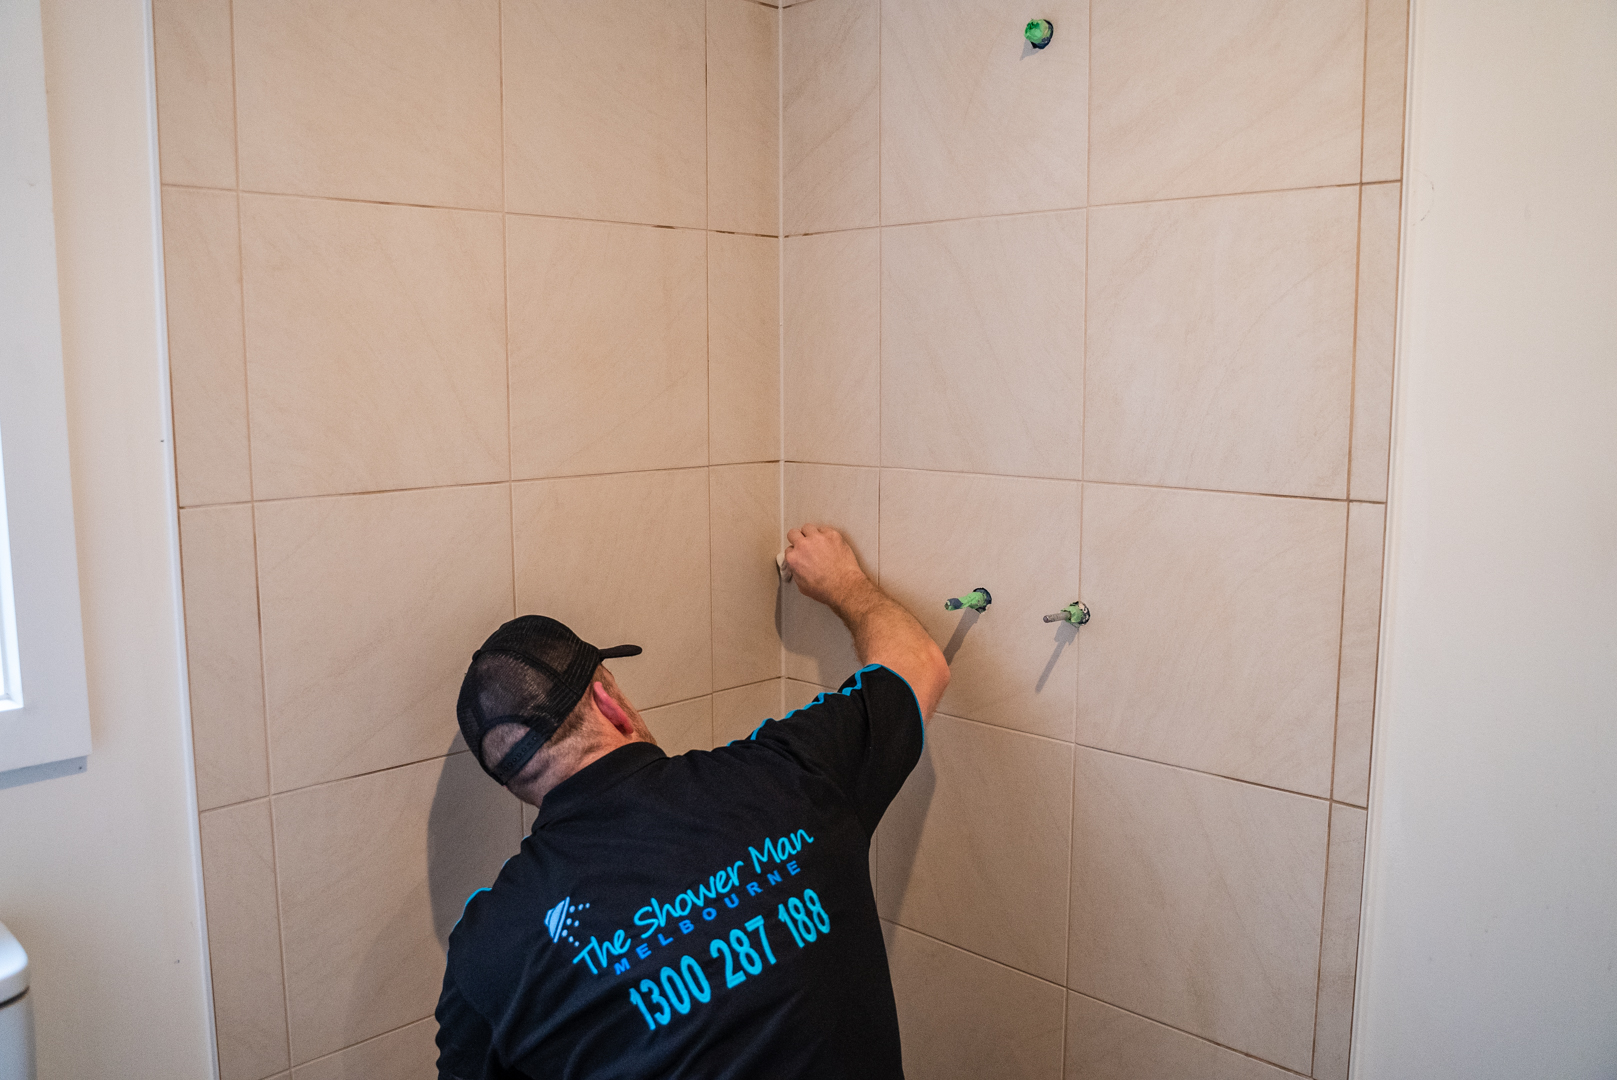
Grouting
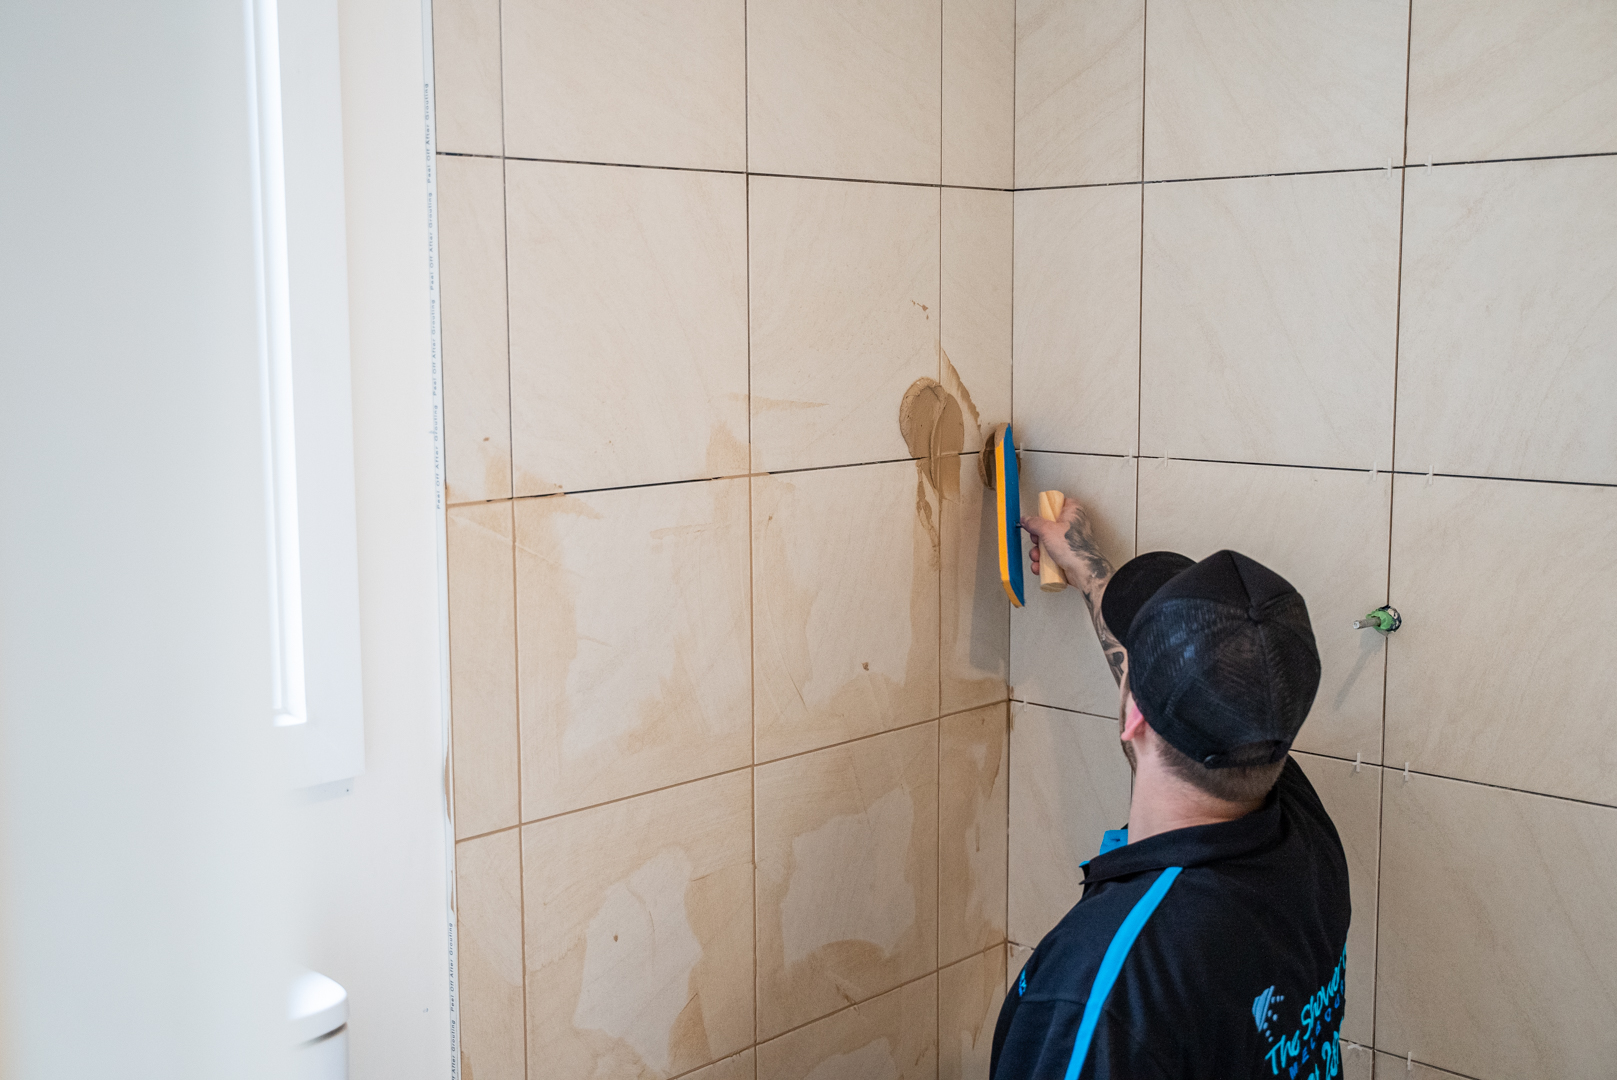
Once the tile adhesives have fully cured, we grout the shower recess using premium- grout, with your choice of sanitised or epoxy grout.
The grout is mixed with precise water ratios to achieve the ideal consistency-too much or too little water can lead to cracking or premature deterioration.
We carefully fill all tile gaps, remove excess grout, and clean the tiles to leave crisp, even grout lines that complement the tile pattern.
Grout colour is matched as closely as possible to your chosen tiles for a seamless finish.

STEP 17:
caulking application
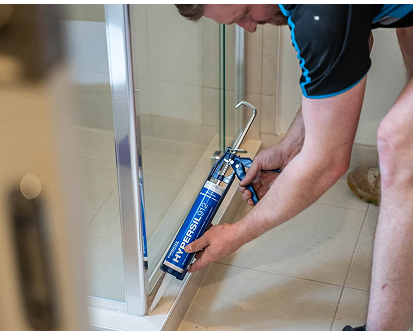
All junctions and corners are sealed with high-performance silicone to ensure flexibility and watertightness.
Grout is not used in these junctions as a flexible sealant is required in these areas.
We colour-match as closely as possible to the tile and tool the silicone for a smooth, professional finish.


STEP 18:
Plumbing Fit-Off
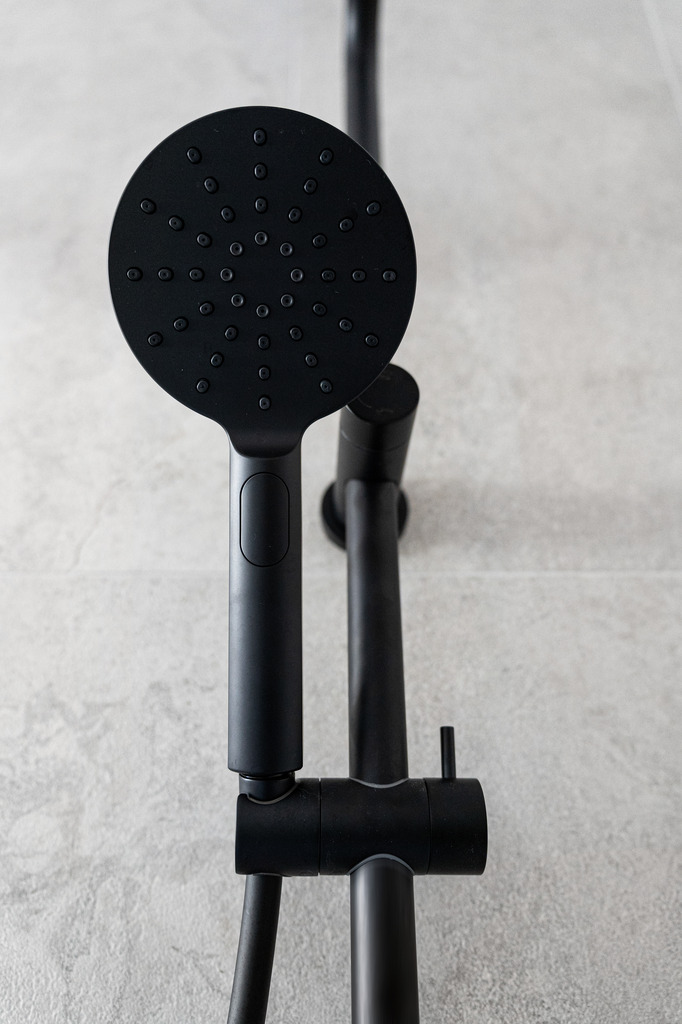
Once all tiling work is complete, our team return to perform the plumbing fit-off stage, where all tapware, mixers, shower heads, and other fixtures are installed.
Each fitting is carefully aligned to match your design and ensure a professional, balanced look.
Seals and connections are tested under pressure to ensure there are no leaks or defects.
We check that mixers, shower heads, and outlets are functioning exactly as they should.
Any final adjustments are made so that all fixtures sit flush and secure .
.jpg)
STEP 19:
Shower Screen Installation
We install your new shower screen so it overhangs the inside of the hob, ensuring water drains directly onto the base and into the waste outlet.
The screen is caulked vertically inside and out, but only along the bottom of the exterior, preventing water from being trapped under the frame while allowing any water inside the frame to drain freely.
All seals, hinges, and fittings are precisely adjusted for smooth operation and a modern, clean look.
Note: shower screens are not designed for removal and reinstallation.
Doing so causes misalignment, poor sealing, and a high risk of leaks. Current AS1288:2021 glass standards also make reinstalling non-compliant glass illegal and unsafe


STEP 20:
Final Quality Check
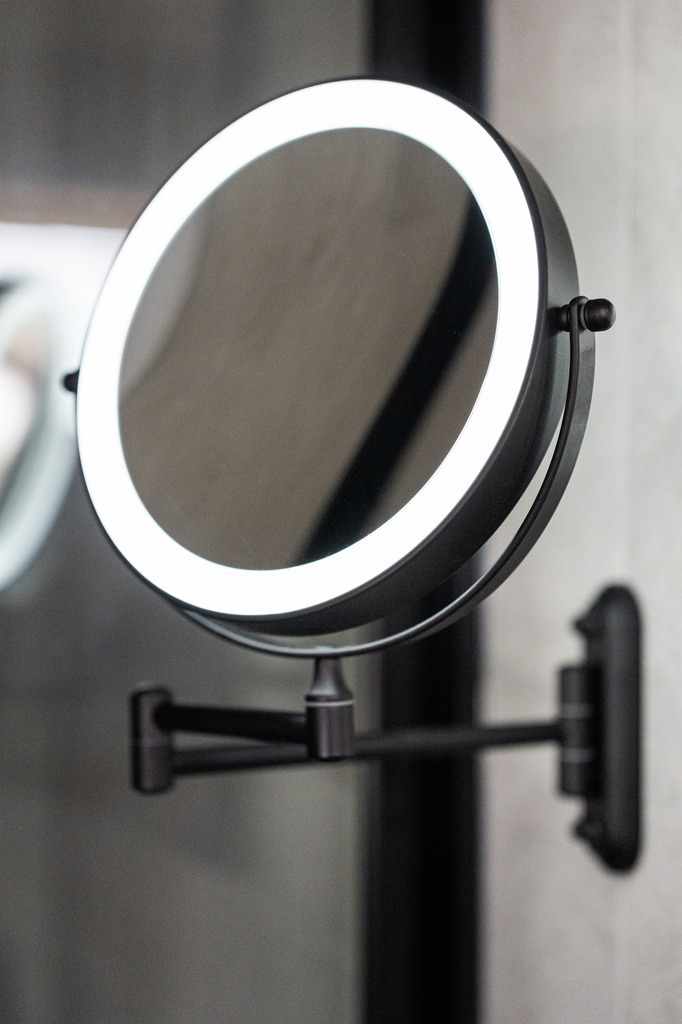
To finish, we perform a comprehensive inspection, checking every detail against our high-quality standards.


STEP 21:
Handover
We clean the area and ensure your shower is ready for use the next morning.
You’ll receive care instructions and aftercare tips — leaving you with total peace of mind.


Our $149 Professional Diagnostic Inspection is more than just an inspection — it’s a full consultation and action plan to identify the real cause of your leak and provide a permanent, compliant solution.
✔ 58-point compliance check against NCC & AS-3740 standards
✔ Moisture testing and structural assessment
✔ High-resolution photos & technical documentation
✔ Written Shower Defect & Compliance Report
✔ Fixed-price investment plan with clear inclusions
This inspection gives you complete clarity on the problem and the correct solution — saving you from patch jobs that fail and cost more in the long term.
Free quotes miss the details that cause leaks. Our Shower Experts carry out a full technical consultation and create a clear action plan designed to fix your shower for good.
Peace-of-Mind Promise: If no issues are detected, you won’t be charged.
Here's a handful we see every week in and around Melbourne:

While acrylic and polymarble bases are often marketed as a “quick fix,” they come with serious problems that cost homeowners more in the long run:
By comparison, a tiled shower base avoids all of these issues. The entire installation is completed from above, with no disturbance to surrounding rooms or ceilings. It provides the most reliable, long-lasting, and hassle-free solution for our clients.
Choosing a tiled shower base ensures:
That’s why every shower rebuild we deliver comes with our 10-Year Warranty and our ‘Problem Solved or It’s Free’ Guarantee.
If your shower is leaking, cracked, or failing, a tiled shower base replacement is the safest investment you can make. It protects your home, prevents hidden water damage, and gives you a bathroom you’ll love for years to come.


When we say you're getting a permanent solution... WE MEAN IT! That's why we offer our clients a "Problem Solved, Or It's Free"!
We don't install kitchens; we don't build decks; we don't repair gutters... WE FIX SHOWERS AND BATHROOMS! So, if you have a shower issue, call your local specialist today!
Amanda and Erol, founders and owners of The Shower Man, started The Shower Man in 2010 and have been in the industry for 30+ years... So they know a thing or two about showers and bathrooms!
The Shower Man is a locally owned and operated business located in Pakenham, Melbourne- Serving Melbourne Homeowners from Pakenham to Point Cook
We have the 'biggest and boldest' leaking shower guarantee, so you can be confident knowing that we can solve your shower problem!

10 Point Shower Man Guarantees
Problem Solved, Or
It's FREE Guarantee
Fixed Price
Guarantee
10- Year
Guarantee
Permanent Solution Guarantee
8 Point Quality
Inspection Guarantee
Best Intentions, Integrity Always Guarantee
Show Up
Guarantee
The Best You’ve Ever
Had Guarantee
Always There For You Guarantee
Work
Clean Guarantee
If your shower is already leaking, replacing the silicone is not the solution.
Attempting to apply new silicone over a damp surface will prevent it from curing properly, and the leak will continue.
If a permanent solution is what you need, the shower recess will require the tiles and substrates to be replaced and a new waterproofing membrane installed, adhering to Australian Standards.
The replacement of silicone is for maintenance on a properly built shower, not a fix for an existing leak.


Never allow any contractor to replace only the bottom row of tiles when replacing a shower base.
This is a recipe for disaster. It creates a break in the waterproofing membrane, which is non-compliant with Australian Standards and the Building Code.
As soon as your house experiences the slightest movement, the grout in the join will crack, and water will leak directly behind the walls, bypassing the waterproofing entirely. This will lead to major structural damage, and insurance companies could refuse future claims due to the non-compliant work.
A shower is never properly waterproofed unless the entire recess has been waterproofed in a continuous, seamless application. Anybody claiming they can join new waterproofing to old behind intact tiles will be doing a shoddy job. We regularly fix these failed attempts, costing homeowners far more in the long run. Get the job done properly the first time.

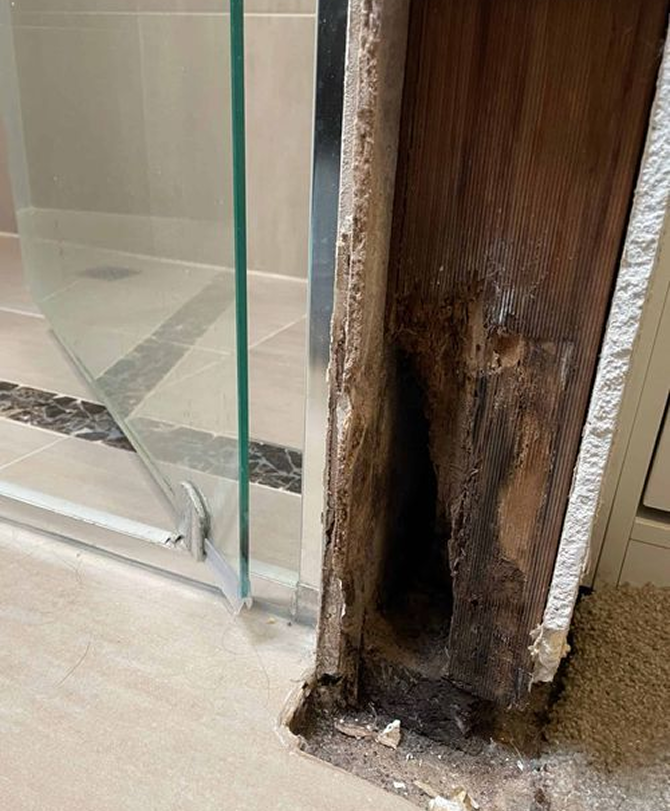
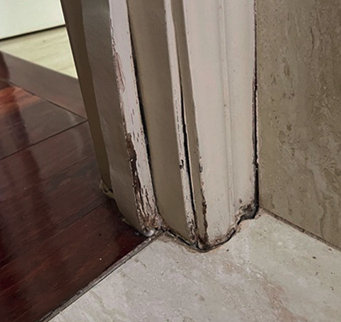
One of the most common signs of a leaking shower is water damage to plaster, architraves, or skirting boards. Showers often leak where the wall tiles meet the shower base or floor tiles. When the grout cracks or silicone breaks down, water seeps through and soaks into the plasterboard or wall sheeting behind the tiles. From there, it can travel along the floor or wall, causing timber frames, architraves, and skirting boards to swell or warp.
You might also notice water stains on walls or ceilings in rooms next to or beneath the bathroom. These are clear warning signs that your shower waterproofing has failed and needs attention before serious damage occurs
When water leaks beneath floor tiles and soaks into the subfloor, the trapped moisture causes the tiles to loosen and the grout to crack. Without proper waterproofing, the flooring can warp and shift, leading to uneven surfaces, cracked floor grout, and tiles that start lifting or coming away from the floor. In severe cases, water absorption and expansion can create a visible hump or raised section in the bathroom floor.
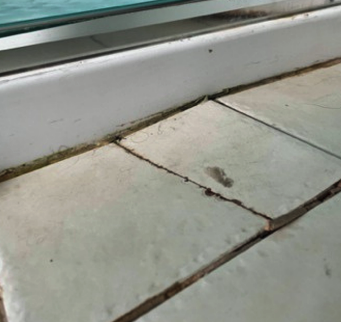
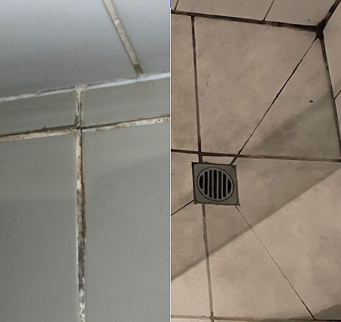
If the grout between the shower wall tiles and shower base tiles is missing, cracked, or constantly mouldy, it’s often a sign of a leaking shower. Many homeowners find that no matter how much they scrub, the mould keeps coming back. This happens because water is penetrating behind the tiles and saturating the wall lining — a clear sign that the shower waterproofing was never installed, or not installed correctly, in line with AS 3740 waterproofing standards.
Silicone can also develop mould that won’t clean off, as the mould grows from behind the surface due to water leaking behind it. In a properly waterproofed shower, this issue does not occur.
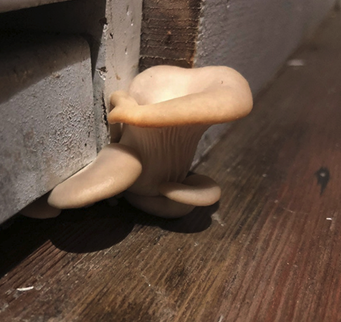
Some homeowners are surprised to find mushrooms growing near their shower or even in adjoining rooms. This happens because ongoing moisture and decaying subfloor materials create the perfect environment for fungi to thrive. In many cases, the same moisture problem also attracts ants and other pests. Both are clear signs of a leaking shower or failed waterproofing that needs immediate attention.
Acrylic and polymarble shower bases must be installed on a solid mortar bed with no gaps or hollow pockets. If there are voids beneath the base, it won’t have proper support and will flex under weight, eventually leading to cracks. Since these shower base shells are only around 10mm thick, full support from the mortar bed is essential.
However, even a well-installed base can fail if there are leaks from the wall linings or tiles. Water that seeps underneath the base can soften or break down the mortar bed, causing movement, instability, and premature cracking of the shower base.
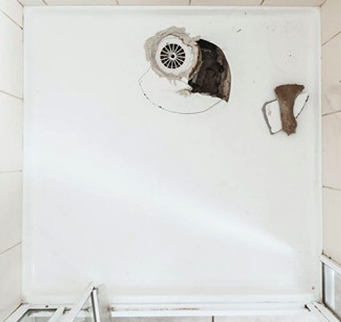
Shower wall tiles should be installed so they sit flush with the shower base, allowing a neat and continuous bead of silicone to seal the junction between the wall tiles and the base. Tiles should never protrude or overhang the base, as this prevents proper sealing, traps water, and eventually leads to leaks.
A common issue occurs when the shower base has been “checked” into the wall too far or not far enough:
In some cases, the shower base is the wrong size for the space, and the builder has “made do” to make it fit. This improper alignment often results in poor sealing, water pooling, and eventual leaks.
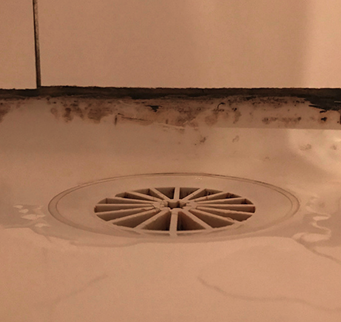
If you look at your shower with the door open and notice that the lower wall tiles or floor tiles appear darker than the rest, it’s often a sign of a leaking shower. This happens when water seeps through cracks or gaps and penetrates the wall lining behind the tiles or the subfloor beneath them. The tiles become waterlogged, absorbing moisture from behind, which causes the darker, damp appearance.
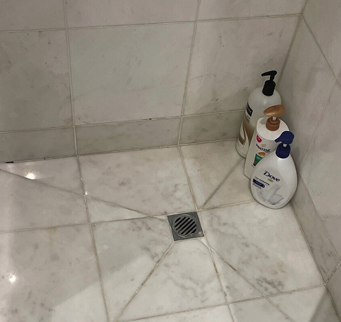
A shower grate must always be installed into a puddle flange, which acts as a barrier to ensure any water that seeps through the tiles and onto the waterproofing is directed into the plumbing system. For the system to work correctly, the shower grate must also have a connected pipe that sleeves into the puddle flange, ensuring water cannot escape anywhere except into the trap and drain.
The grate should be positioned at least 50mm away from each wall, as the puddle flange fitting is usually around 200mm in diameter. If the grate sits too close to a wall or appears misaligned, it’s often a sign that the puddle flange is missing or incorrectly installed, which can lead to leaks and water damage
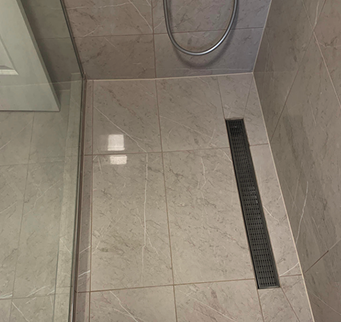
To ensure your shower drains correctly and complies with current standards, the shower base must have a minimum fall towards the waste outlet:
How to check: Place a level on the shower base, with one end positioned at the waste and the other against each wall or edge. You should be able to measure the correct fall as per the ratios above.
Visual indicator: A well-installed shower base typically has split tile lines running from each corner of the shower to the waste outlet. These splits help create the necessary slope for water to flow effectively. If the tiles appear flat, or if there are no visible splits, the shower base may not have sufficient fall, increasing the risk of water pooling and leaks.
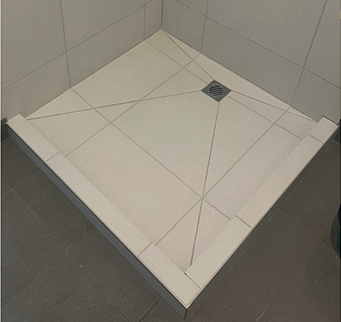
A water stop is mandatory under NCC and AS 3740 to prevent leaks and ensure your shower is correctly waterproofed. It must be installed around the external perimeter of the shower base to contain water and direct it back to the waste outlet.
A compliant water stop can be:
A masonry hob is a reliable, durable solution because it:
Without a compliant water stop, your shower cannot meet AS 3740 waterproofing standards, increasing the risk of leaks, water damage, mould, and costly structural repairs.
Not sure if your shower is compliant? Book a Professional Diagnostic Inspection with The Shower Man to check your waterproofing, water stops, and drainage.


To ensure water drains correctly, a screed bed must be installed beneath the tiles to create the necessary slope. By law (AS 3740 and NCC standards), the minimum fall is 1:100 — meaning the floor must slope at least 1 mm for every 100 mm towards the waste outlet.
A quick way to tell if a screed has been installed is by looking at the height of the water stop or hob.

For a shower to drain properly and avoid leaks, the shower screen must sit flush with the inside edge of the water stop or hob. If the screen is installed too far back (on top of the hob), water can pool at the base of the screen, overflow underneath, and get trapped inside the shower screen frame — leading to mould, water damage, and premature failure.
It’s also critical that silicone caulking is applied only on the outside of the shower screen frame, never on the inside. This allows any water running down the glass and collecting inside the frame to drain back into the shower, instead of becoming trapped.
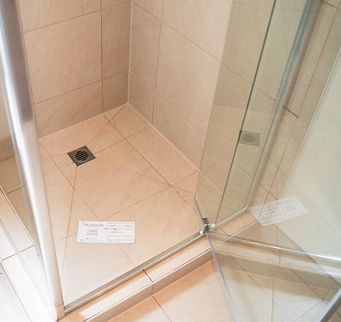
On a compliant shower base, the diagonal splits (tile gaps) connecting each corner to the waste outlet should be at least 1.5 mm wide, or the same width as the other grout lines on the base. Anything narrower than 1.5 mm won’t hold enough grout to properly fill the joint and bond to the depth required.
When tile gaps are too tight, the grout becomes weak, falls out over time, and allows water to seep underneath the tiles, leading to leaks and water damage.
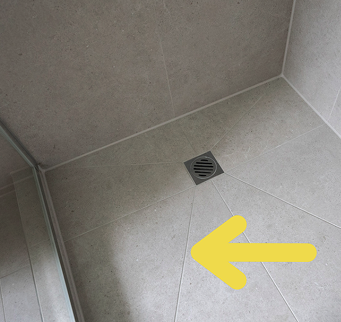
To meet National Construction Code (NCC) requirements and ensure a watertight shower, the base tiles must always be installed before the wall tiles.
Unfortunately, many tilers install wall tiles first, then lay the base tiles during the same visit to save time — as wet base tiles can’t be walked on to tile the walls. This shortcut creates a major waterproofing risk:
This order of installation is critical to achieving NCC-compliant waterproofing, preventing hidden leaks and long-term damage.
