Listen to us on 3AW:
Use this checklist to help determine if you have a water damaged shower.

Are you concerned that you have a water-damaged shower? Check out this list for common signs, ranging from swelling walls to the presence of mushrooms and ants.

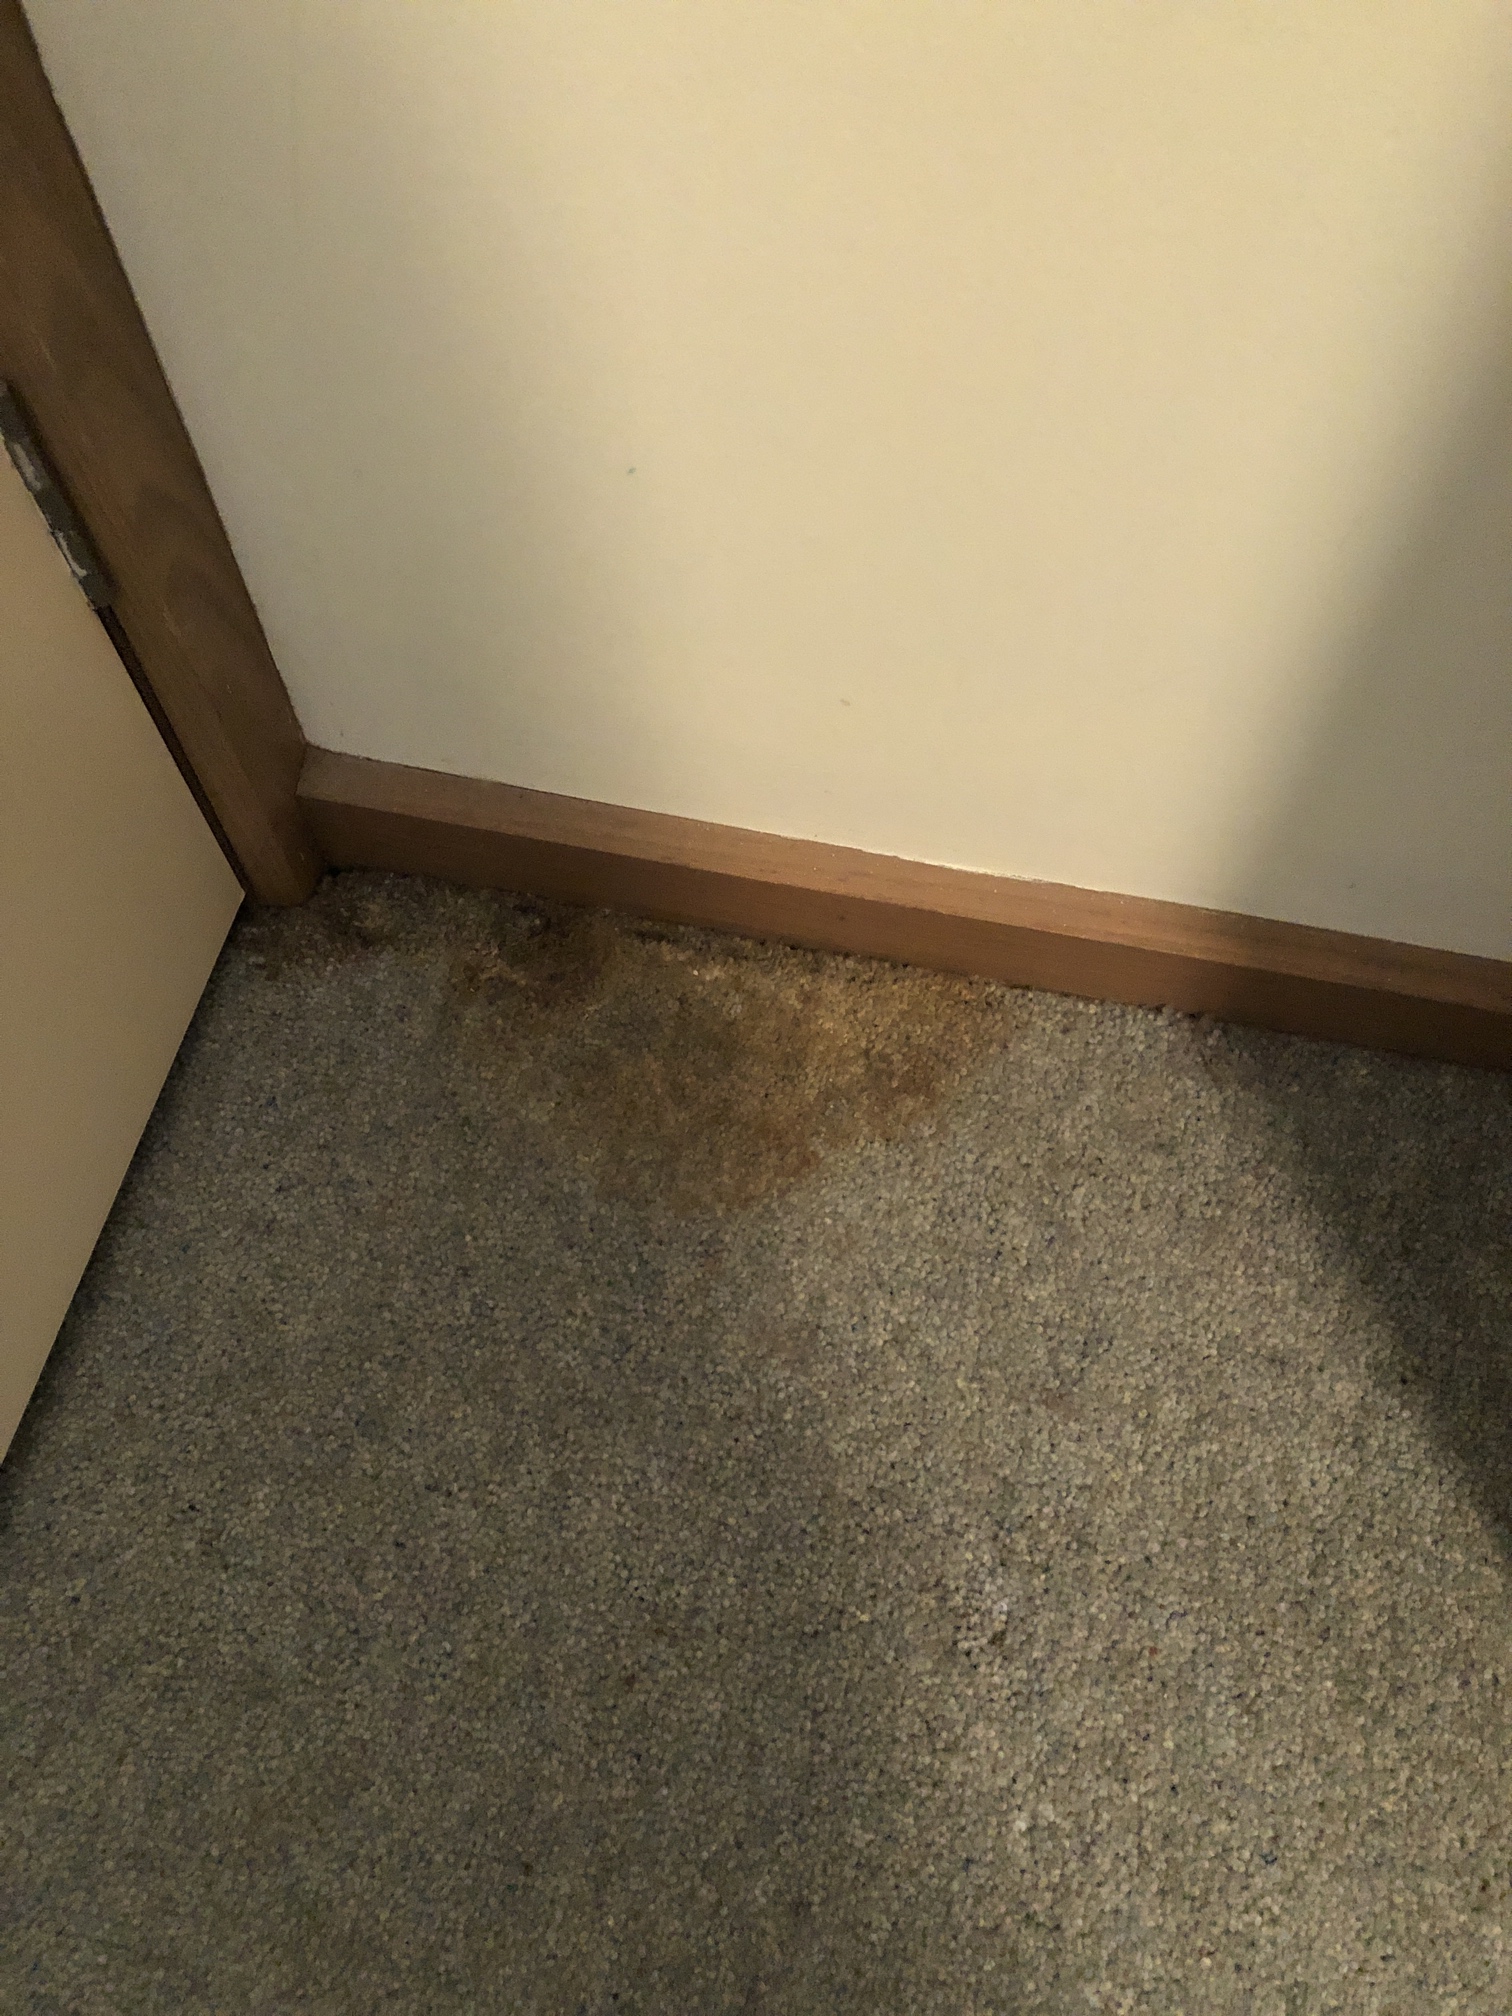
WATER DAMAGE TO PLASTER OR SWELLING OF ARCHITRAVES OR SKIRTING BOARDS.

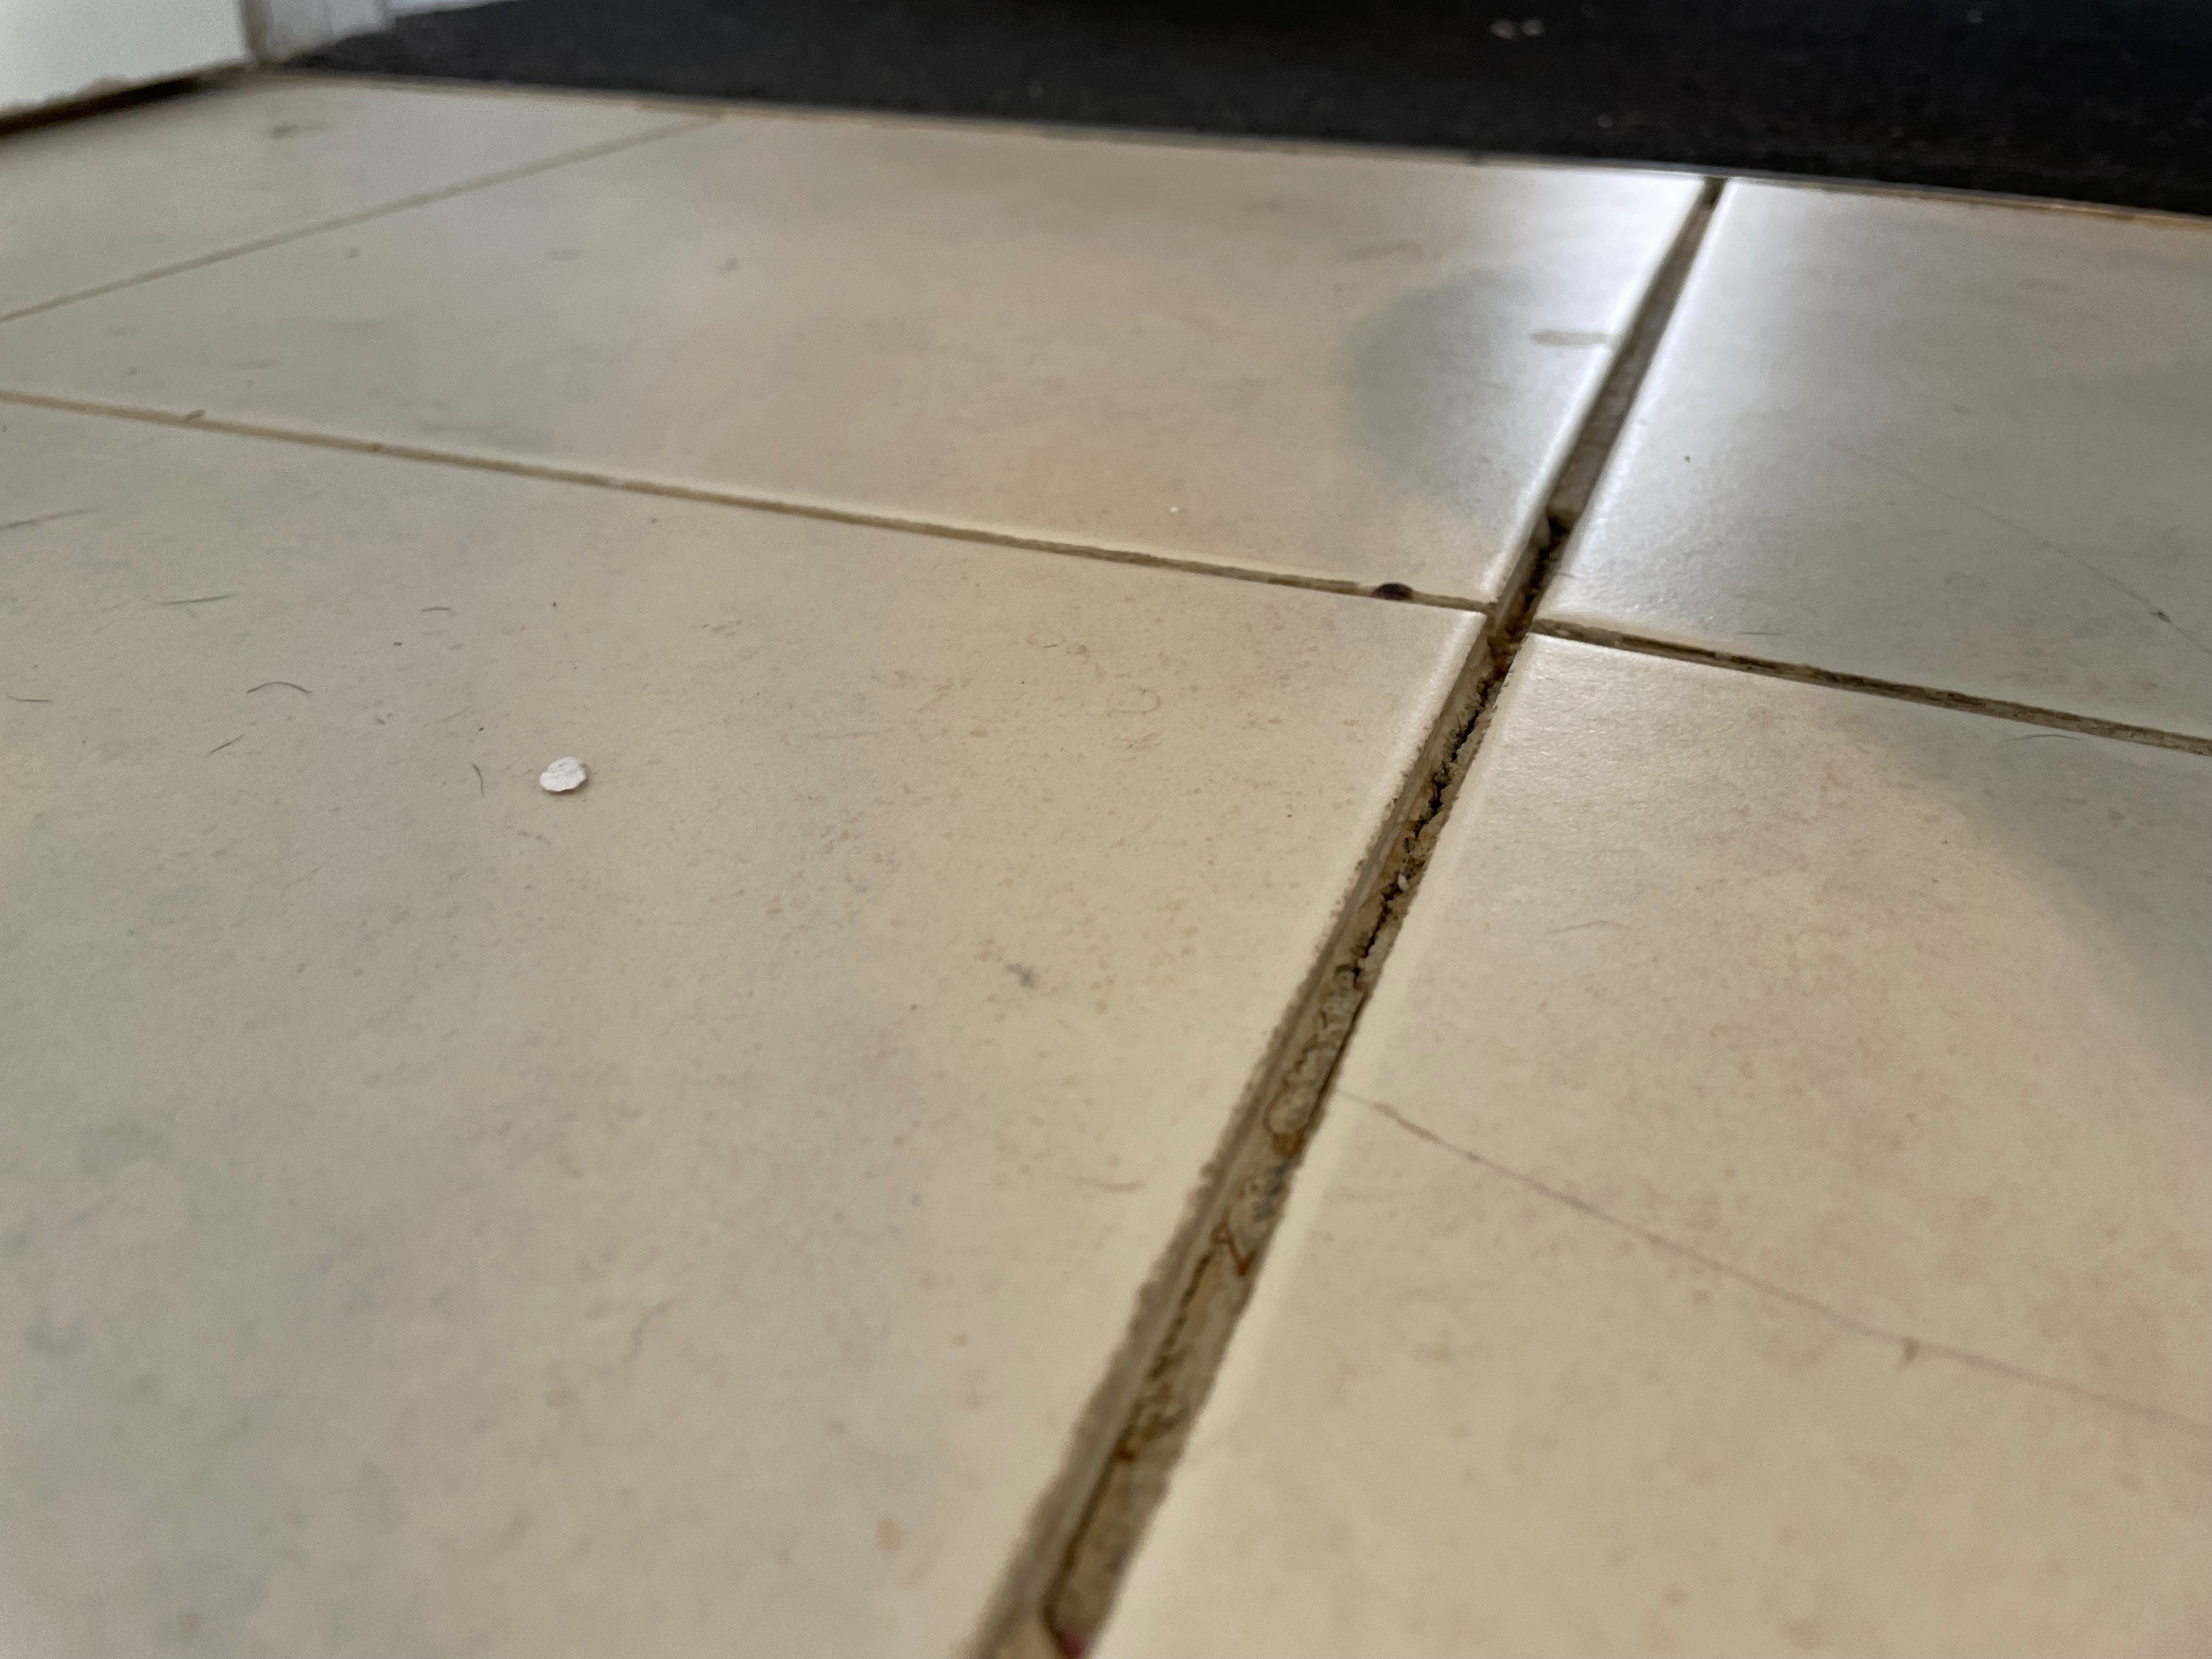
FLOOR OR WALL TILES CRACKING OR LIFTING & FLOORING WARPING

GROUT OR SILICONE ISSUES

MUSHROOMS AND ANTS

IS YOUR SHOWER BASE MORTAR BED SUFFICIENT?

IS THE SHOWER RECESS WALL TILING COMPLETELY FLUSH WITH THE SHOWER BASE?

IS THE BOTTOM ROW OF WALL TILES OR A PORTION OF THE FLOOR TILES SHOWER BASE?

IS YOUR SHOWER GRATE INSTALLED CORRECTLY?

HAS THE BASE OF YOUR SHOWER BEEN TILED TO PROVIDE A MINIMUM FALL OF 1:100 TO THE WASTE OUTLET?

HAS YOUR SHOWER BEEN FITTED WITH A WATER STOP?

IS THERE A SCREED BED UNDER YOUR SHOWER BASE TILING TO SUPPORT TILES AND CREATE FALL?

IS THE SHOWER SCREEN INSTALLED ON THE INSIDE OF THE HOB?

ARE THE SPLITS WIDE ENOUGH TO SUPPORT THE GROUT IN PLACE?

HAVE YOUR SHOWER BASE TILES BEEN LAID PRIOR TO THE WALL TILES?

Do you have a water damaged shower? Learn more about how we can help you

1300 287 188

Do you have a water damaged shower? Learn more about how we can help you

1300 287 188
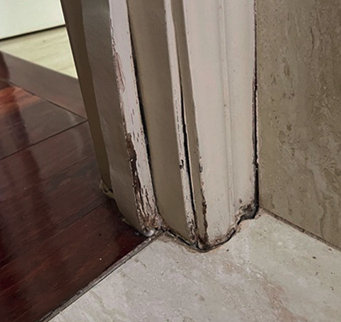
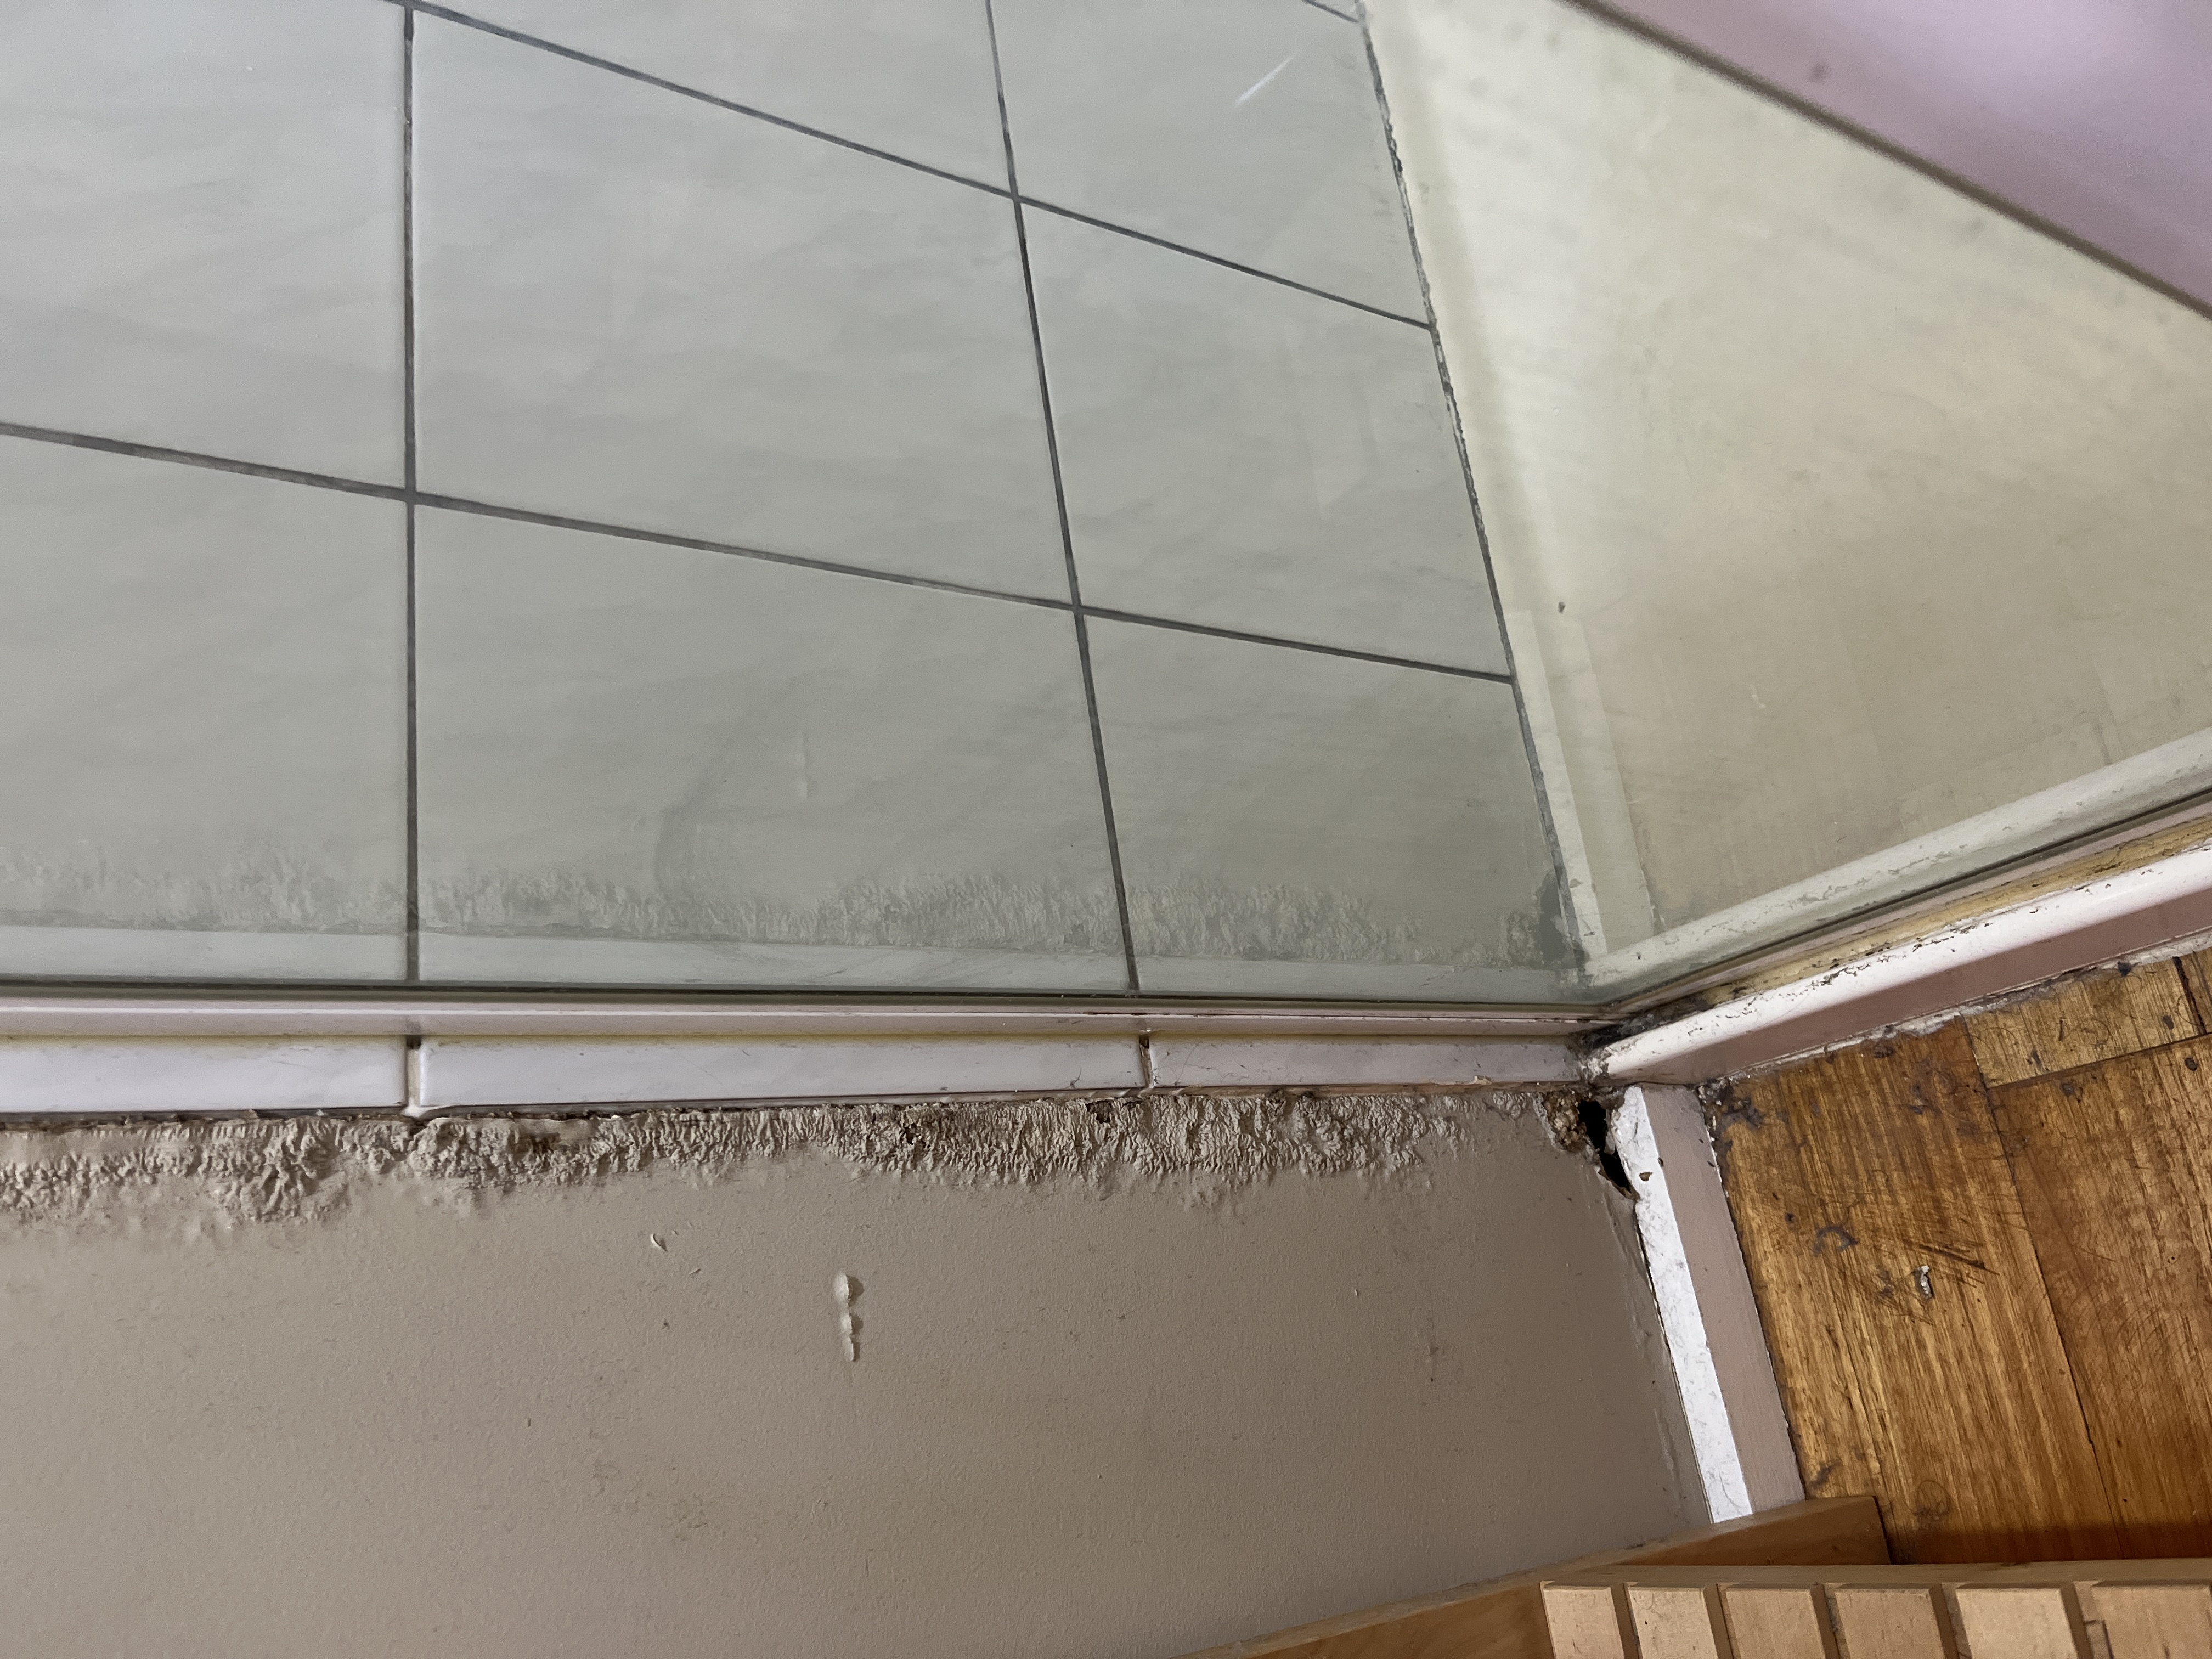
WATER DAMAGE TO PLASTER OR SWELLING OF ARCHITRAVES OR SKIRTING BOARDS.

Showers typically leak where the wall tiles meet the shower base or shower base tiles. Water penetrates silicone, absorbs into the plasterboard or sheeting behind the tiles, and then travels along the floor or bottom of the wall, eventually reaching architraves, skirting boards, or door frames. Additionally, you may notice water damage or stains on adjacent rooms’ plaster or the ceiling beneath the bathroom.

FLOOR OR WALL TILES CRACKING OR LIFTING & FLOORING WARPING.

When water seeps beneath floor tiles and is absorbed by the subfloor, the tiles lift, and the grout cracks. The flooring will warp without properly waterproofing the area, resulting in cracked floor grout and cracked and lifting tiles. In addition, as a result of water absorption and expansion, a hump in the flooring may form.

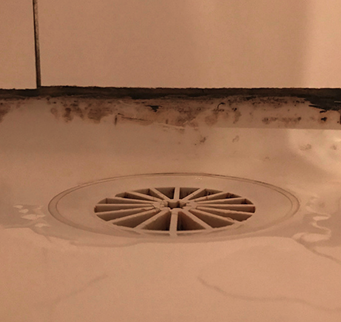
GROUT OR SILICONE ISSUES

The grout between the shower wall tile and the shower base tile may be missing, cracked, or mouldy. You may discover that despite your best efforts, the mould returns. This occurs due to the leak penetrating and saturating the wall lining, indicating that either the shower waterproofing was not installed or was not installed correctly following AS 3740-2010 standards. Silicone may also grow mould despite frequent cleaning; this is caused by mould growing behind the silicone’s surface resulting from water penetrating behind the silicone. This does not occur with a waterproof shower.

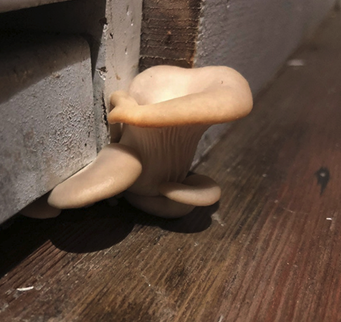
MUSHROOMS AND ANTS

Frequently, clients report mushrooms growing unexpectedly outside the shower area or in adjacent rooms. Moisture and decaying substrates create an ideal environment for mushrooms to thrive. Additionally, the moisture also attracts ants.

IS YOUR SHOWER BASE MORTAR BED SUFFICIENT?

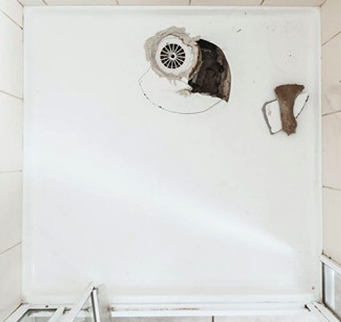
Shower bases made of polymarble or acrylic must be installed on a mortar bed free of voids or hollow pockets. If there are voids beneath the shower base, the shower base will flex due to a lack of support and eventually crack. The shower base shells are approximately 10mm thick and must be supported on the mortar bed.

IS THE SHOWER RECESS WALL TILING COMPLETELY FLUSH WITH THE SHOWER BASE?

Shower wall tiling should be installed flush with the shower base to allow for the application of a neat bead of silicone at the base and wall tiles junction. Tiles should not protrude from or overhang the shower base.

IS THE BOTTOM ROW OF WALL TILES OR A PORTION OF THE FLOOR TILES SHOWER BASE?

Using a phone camera to view the shower with the door open, you may notice that the bottom section of wall tiles or floor tiles appear a darker shade than the rest of the tiles. This occurs when a shower leak penetrates through the wall lining behind the tiles or the flooring beneath the floor tiles. The tiles become waterlogged due to absorbing water from behind the tile.

Do you have a water damaged shower? Learn more about how we can help you

Do you have a water damaged shower? Learn more about how we can help you

IS YOUR SHOWER GRATE INSTALLED CORRECTLY?

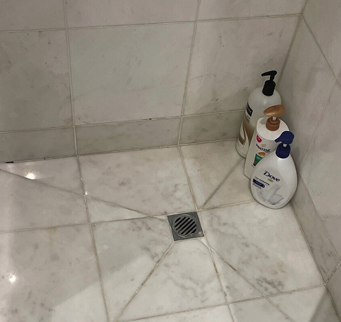
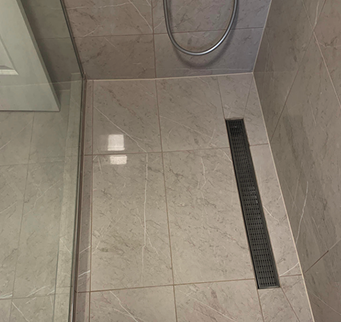
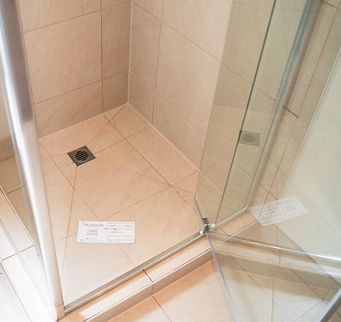
Shower grates must be installed into a puddle flange. A puddle flange acts as a defence barrier, ensuring that any water that leaks through tiles onto the waterproofing drains into the plumbing. When installing a shower grate into a puddle flange, the grate must be at least 50mm from each wall, as the puddle flange fitting has a diameter of 200mm. An incorrectly positioned grate is a tell-tale sign of a missing puddle flange.

HAS THE BASE OF YOUR SHOWER BEEN TILED TO PROVIDE A MINIMUM FALL OF 1:100 TO THE WASTE OUTLET?

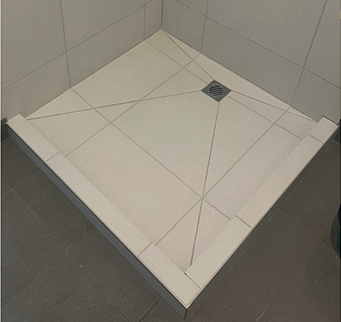
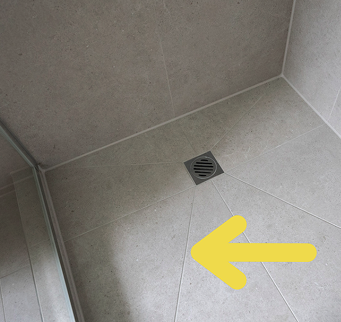
A level can be used to determine fall. The level should be placed on the shower base, with one end against the waste and the other against each side of the shower. You must accurately measure a 1mm fall for every 100mm distance. Generally, you can tell if there is no fall if the shower base tiles are split; these splits should run from each corner of the shower to the waste outlet and be symmetrical. Without splits, there can be no sufficient fall.

HAS YOUR SHOWER BEEN FITTED WITH A WATER STOP?

A water stop must be installed around the external perimeter of the shower base to achieve compliance. A water stop must be either a hob (timber cannot be used) or an aluminium angle. This allows for the shower area to be correctly waterproofed. It is not possible to achieve compliance without taking this step.

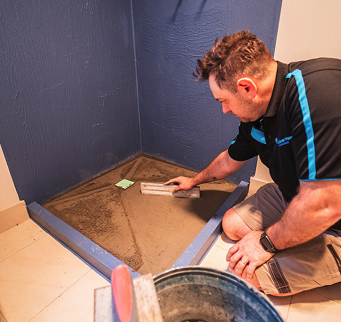
IS THERE A SCREED BED UNDER YOUR SHOWER BASE TILING TO SUPPORT TILES AND CREATE FALL?

To create the fall to the waste, a screed bed is required. A minimum fall of 1:100 is required. Generally, you can tell whether the height of the water stop or hob has installed a screed. If the height of the hob is less than 50mm, the depth is insufficient to contain a screed.

IS THE SHOWER SCREEN INSTALLED ON THE INSIDE OF THE HOB?

Shower screens installed on tiled shower bases must be flush with the inside edge of the water stop or hob. If the shower screen is not installed onto the inside edge of the shower hob, water will pool at the bottom of the screen on the shower hob and overflow back underneath the screen, causing water to become trapped in the screen frame. Additionally, with all showers, the shower screen must be caulked only on the outside, not the inside, as any water that runs down the glass and collects inside the frame must be allowed to escape.

ARE THE SPLITS WIDE ENOUGH TO SUPPORT THE GROUT IN PLACE?

The diagonal splits connecting each corner to the waste outlet on the shower base should be at least 1.5mm wide or the same width as the remaining tile gaps on the shower base. Anything less than 1.5mm in width is insufficient to hold enough grout to fill and adhere to the depth correctly. When the gaps between the tiles are too small, the grout will fall out, and water will seep beneath the tiles.

HAVE YOUR SHOWER BASE TILES BEEN LAID PRIOR TO THE WALL TILES?

Shower base tiles must be laid before wall tiles. Often, tilers will install the tiles onto the shower recess walls and then lay the shower base tiles in the same visit to minimise site visits, as the wet shower base tiles cannot be stood on to lay the walls. If the walls are installed first, water may run down the walls and into the junction between the wall and shower base tiles. When the base is laid first, followed by the wall tiles, the water has nowhere else to travel except into the waste. This is a critical requirement to adhere to the National Construction Code.

About Us

The Shower Man is a family-owned businessbased in Melbourne, with many yearsexperience in the plumbing and tilingindustries.

Contact Us

Phone: 1300 287 188